Table of Contents
Galette Dough Stabilized Butter Technique – A Rustic Pie Crust Reimagined
When I was a kid in Fez, my mother would whisper the secret of her bread dough into my ears as the wind carried the scent of cumin and citrus through the souks. Fast forward to a cramped kitchen in Brooklyn, and even the aroma of butter feels like that memory. This galette dough recipe captures that harmony, introducing a stabilized butter technique borrowed from my French pastry classes that keeps the crust flaky yet tender.
Feel the burst of toasted almond, the snap of a perfectly chilled crumb, and the warm golden glow that swirls around the edges of a freshly baked galette. The dough settles into a shallow pan with a subtle crackle, revealing hints of caramelized butter and a whisper of sea salt. Every bite is a bite of Morocco, a piece of Paris, and a hearty slice of New York street food.
I’ve tweaked this base countless times—adding a teaspoon of smoked paprika for a savory twist or a drizzle of honey for that sweet finish. A frequent misstep is rushing the chilling step; hold off on that, and the dough will bind like a stubborn stew. Below, you’ll find a pro tip that keeps the dough light as a cloud and a common mistake to avoid so your galettes always rise to the occasion.
Why This Galette Dough Recipe Is the Best
The heart of this dough is the “stabilized butter” ritual, a quick cheese‑cloth compression that traps water droplets inside the butter. It echoes a similar technique my professor taught me in Atelier Deutsch, ensuring a flaky yet tender crumb that feels like a gust of summer breeze from the Maghreb coast.
When I shape the dough, the flour and butter freeze in optimal layers, giving each bite a delicate crunch before melting into buttery softness. The result is a texture that mirrors the crêpe‑like gold of a Parisian pastry, with a buttery center that carries every topping from crisp vegetables to velvety custard.
For anyone from a novice baker to an advanced cook, the method is streamlined: a simple food‑processor blend, a chill step, and a roll‑out that takes less than 15 minutes. It saves you from a needless mix‑and‑sift routine, letting you focus on the fillings while the crust rises gracefully.
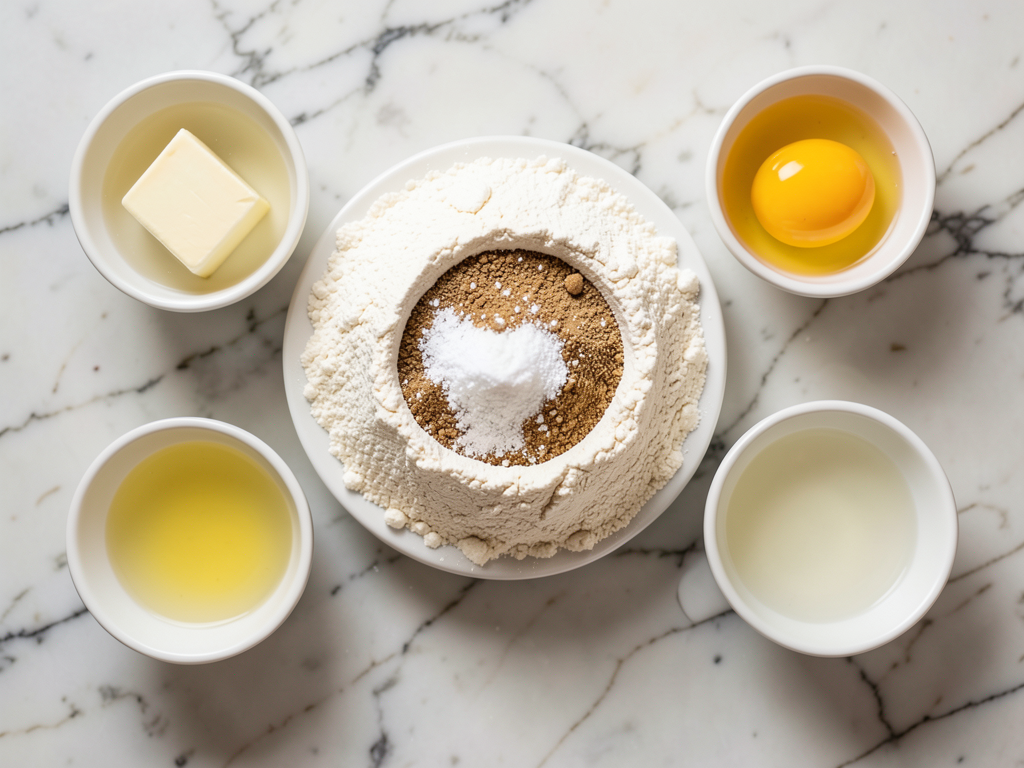
Galette Dough Recipe Ingredients
I shop at the Little Italy market for fresh flour and, just above the cauliflower, the butter my French culinary school insisted we keep cold enough to crave. In the aisles of Union Square, you’ll find the same bully of flavors that make my galettes unmistakably local.
Ingredients List
- 1 ½ cups (213 gr.) all‑purpose flour, more to flour the surfaces
- ½ teaspoon kosher salt
- 10 tablespoons (142.5 gr.) cold unsalted butter, cut into small cubes
- 4‑5 tablespoons ice‑cold water
- 1 large egg yolk
Ingredient Spotlight
Butter: The secret to a flaky crust lies in cold, high‑fat butter. For a richer flavor, use European cream butter; if unavailable, dairy‑free plant butter works—just keep it chilled to the same temperature.
All‑purpose flour: This type offers a balanced protein content that crisps nicely. Whole‑wheat sprinkles can add a nutty bed, but keep the ratio to ¼ cup to avoid a heavy bite.
Ice‑cold water: It prevents premature gluten development. If you’re in the heat, a splash of chilled sparkling water gives a subtle lift; don’t use tap water at full room temperature.
| Original Ingredient | Best Substitution | Flavor / Texture Impact |
|---|---|---|
| All‑purpose flour | Whole‑wheat pastry flour | Adds nuttiness, slightly denser crumb |
| Ice‑cold water | Chilled sparkling water | Lightens texture, adds effervescence |
How to Make Galette Dough — Step-by-Step
Let’s roll out a crust that sings.
Step 1: Prepare the Flour Mix
Place flour and salt in the food processor bowl. Pulse a few times to combine. Keep the mixture dry so the butter won’t soften prematurely.
💡 mia’s Pro Tip: Use the pulse setting instead of high speed; this keeps the flour from clumping and preserves the airy base.
Step 2: Incorporate the Butter
Add the cold butter cubes, pulsing 8–10 times until the mixture resembles small clumps.
⚠️ Common Mistake to Avoid: Don’t press the butter so hard that it melts into a paste; the texture depends on visible butter specks.
Step 3: Add Cold Water
Turn the processor on and add 4 tablespoons of ice‑cold water in one‑tablespoon increments. If the dough doesn’t coalesce, add the rest until it comes together.
💡 mia’s Pro Tip: Watch the crumb; a slightly tacky dough means it’s just right for rolling without sticking.
Step 4: Form a Disk & Chill
Transfer onto a lightly floured surface, shape into a 4‑inch disk, wrap in plastic, and chill in the refrigerator for at least an hour or overnight.
⚠️ Common Mistake to Avoid: Skipping the wrap causes the dough to dry out and become crumbly.
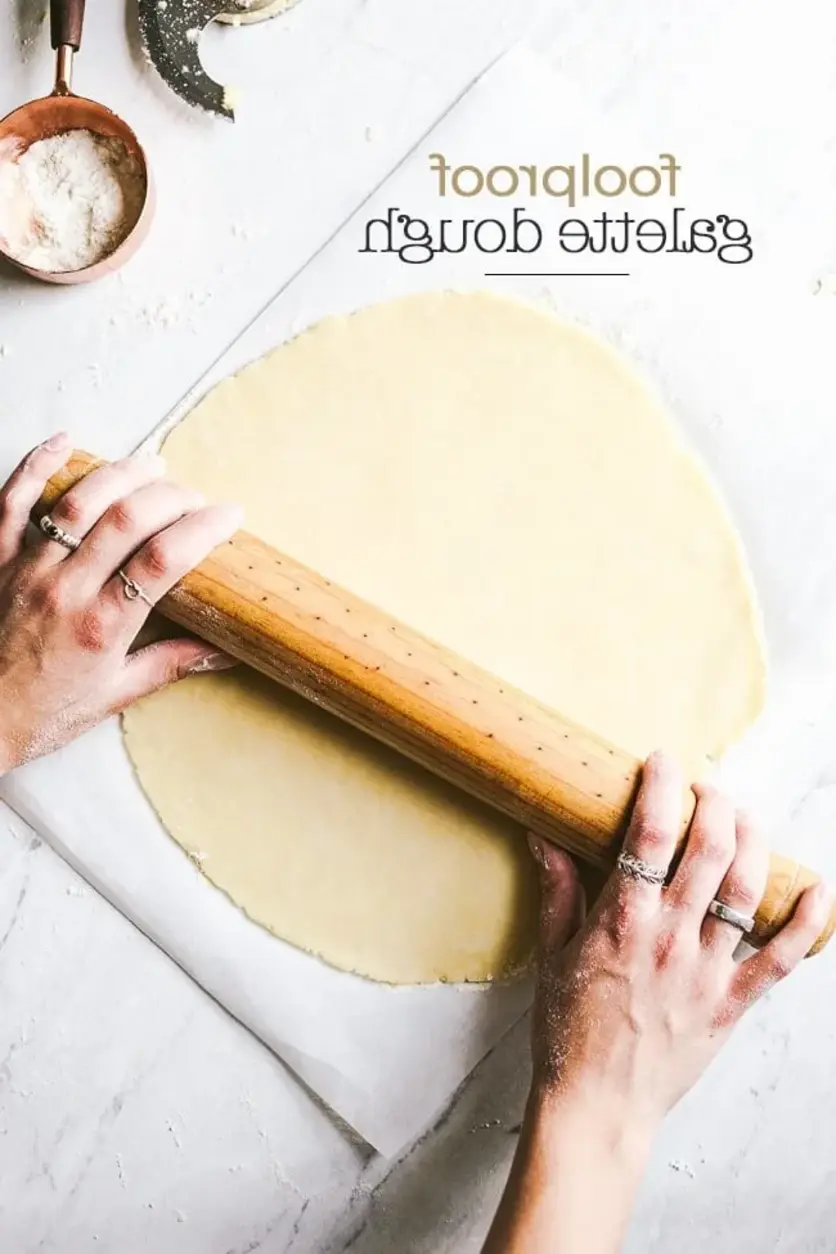
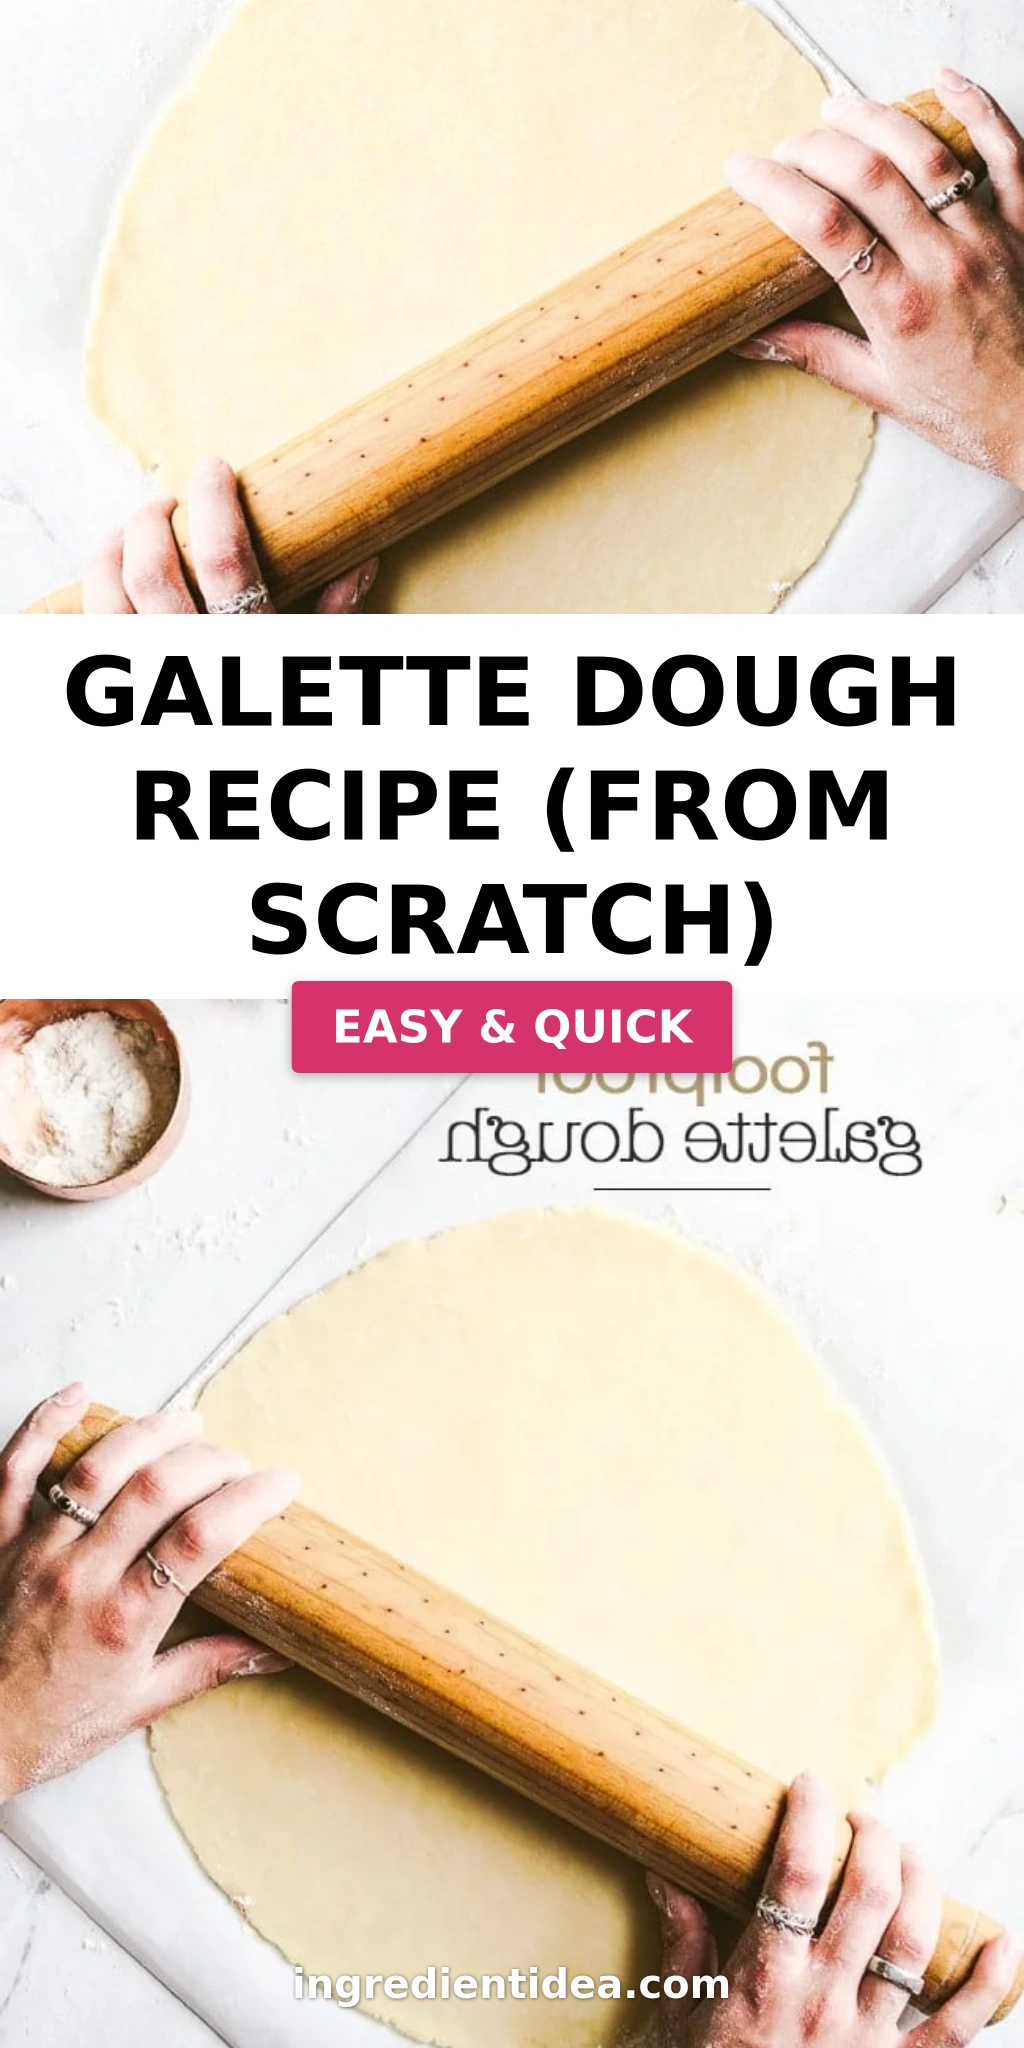
Step 5: Roll the Dough & Finish
Take the dough out of the fridge about 10 minutes before; lightly flour your surface and roll into a 12‑inch circle. Transfer onto parchment, arrange your filling, sew the outer edge, brush with egg yolk, and bake according to your filling recipe.
💡 mia’s Pro Tip: Brush the crust with egg yolk in a thin sweep to keep a glossy, golden finish.
| Step | Action | Duration | Key Visual Cue |
|---|---|---|---|
| 1 | Blend flour, salt, butter | 2–3 min | Butter visible, crumby mix |
| 2 | Add water, observe dough | 1 min | Tacky but not sticky |
| 3 | Form disk & chill | 60 min | Frosted surface |
| 4 | Roll to 12″, assemble | 5–7 min | Smooth edge, golden glaze |
Serving & Presentation
Once baked to a golden crumble, slice the galette on a warm plate and tilt it so the buttery crust glistens just like a street‑light in a Brooklyn dusk. Pair with a crisp green salad seasoned with a drizzle of olive oil and lemon, a classic turn to bring a fresh bite to every bite.
You can embellish with a sprinkle of flaked almonds or a datelike drizzle of preserved lemon compote—both echo the North African palette I cherish from the souks of Marrakech.
Serve immediately or allow the crust to cool on a rack, letting the crumb relax and the flavors mingle. For a gourmet twist, finish with a pinch of smoked paprika or a swirl of goat cheese, creating a bridge between Southern France and Moroccan kasbah.
| Pairing Type | Suggestions | Why It Works |
|---|---|---|
| Side Dish | Roasted Mediterranean veggies, tabbouleh salad, arugula | Herbal freshness balances buttery crust. |
| Sauce / Dip | Cilantro‑lime crema, yogurt‑coriander sauce, honey mustard | Tangy brightens the savory break. |
| Beverage | Sparkling rosé, cold black tea, citrus sangria | Cooling drinks accentuate the crust’s rich dots. |
| Garnish | Fresh herbs, olive tapenade, grated orange zest | Charges the plate, adding aroma and crunch. |
Make-Ahead, Storage & Reheating
As a New Yorker juggling meetings, I prep my galette dough in advance and store it in the fridge, which keeps the crust pliable for up to three days.
| Method | Container | Duration | Reheating Tip |
|---|---|---|---|
| Refrigerator | Plastic wrap and foil | 3 days | Roll within 30 min of baking for crisp edge. |
| Freezer | Zip‑top bag | 2 months | Thaw overnight, reheat at 350°F for 10 min. |
| Make‑Ahead | Reusable bowl | 2 days before | Assemble filling, then bake when ready. |
I typically bake fresh for dinner but keep a pane of crust in the freezer, turning it into an overnight crust for a quick Sunday brunch. Just reheat to 375°F for 8 min and it’s as good as new—your kids will adore the made‑to‑order crumb.
Variations & Easy Swaps
| Variation | Key Change | Best For | Difficulty Impact |
|---|---|---|---|
| Apple Cinnamon | Thin apple and cinnamon rings | Sweet brunch | Easy |
| Gluten‑Free | GF flour blend, xanthan gum | Dairy‑free dining | Medium |
| Summer Berry | Mixed berries, lemon zest | Light dessert | Easy |
Apple Cinnamon Variation
Thin, caramelized apple rings with a dusting of cinnamon create a breakfast galette reminiscent of a Parisian patisserie, where sweet meets a buttery crust.
Gluten‑Free / Dairy‑Free Variation
Use a gluten‑free baking blend and replace butter with coconut oil, coating the dough with almond milk. The crumb stays tender, though the flavor shifts to a subtle coconut note, but it’s a savory gem I’ve tested with roasted tomatoes.
Summer Berry Variation
Fresh berries plumped in a quick simmer with lemon zest and a hint of rosemary pay homage to a spring market in NYC, delivering a light, fruity twist that sings.
What is the difference between galette dough and pie crust?
Galette dough is a free‑form, rustic crust that is rolled thin and then folded or pleated along the edges. It often uses a stabilized butter technique that locks liquid within the fat, giving it a flaky, tender crumb that’s unmistakable in both sweet and savory galettes. Traditional pie crusts, in contrast, are pressed into a pan and sealed or crimped on the edge, usually using a single layer of butter or shortening. The result is a dough that reaches a crisp, even finish from the pan’s edges and pockets a filling that’s thoroughly encircled. In short, galette dough thrives on texture and open pockets; pie crust focuses on a uniform barrier to keep fillings from leaking.
Can I make galette dough ahead of time and refrigerate or freeze it?
Absolutely! You can refrigerate the dough for up to three days if you wrap it in plastic and foil, keeping the butter chilled and the crumb from dehydrating. For longer storage, place the dough in a zip‑top bag and freeze it for up to two months. Thaw overnight in the fridge, then roll it out when ready to bake. The crumb remains as flaky as fresh, and you’ll have an easy “ready‑to‑bake” option for busy nights.
Why is my galette dough tough, and how can I make it more tender?
The culprit is usually too much gluten development or a buttery fat that has warmed up. By keeping the flour and butter cold, using the pulse setting on your food processor, and adding water only until the dough just comes together—not over‑working it—you preserve the tender structure. Also, wrap the dough snugly and chill it for at least an hour; this pauses gluten formation and locks in moisture for a delicate, flaky bite.
Can I make this dough without a food processor?
Yes, a simple wooden spoon or a rolling pin works for mixing. Start by whisking flour, salt, and butter cubes together in a bowl until the mixture looks like coarse crumbs. Gradually drizzle ice‑cold water, one tablespoon at a time, stirring until the dough just glues together. Then follow the rest of the steps—forming, chilling, and rolling—as outlined, and you’ll still get an equally tender crumb.
I’m gluten‑free; does this dough stay flaky?
When using a gluten‑free blend, you’ll likely need the addition of a stabilizer like xanthan gum or guar gum, which helps emulate the elastic network normally created by gluten. Keep the ratio strict—about ½ teaspoon per cup of GF flour—so the dough doesn’t become gummy. The resulting crust stays buttery and crisp, just like the original, with a slight earthy undertone that complements many fillings.
Share Your Version!
I’d love to see what you create—drop a star rating, leave a comment, and I’ll read each one. If you catch your galette on the phone camera, post it on Instagram or Pinterest and tag me @exorecipe. Favorite twist? Let me know if you swapped in a spice from your kitchen that made it unforgettable.
From my NYC kitchen to yours — I hope this recipe brings as much warmth to your table as it does to mine. — mia 🧡
Love This Recipe? Save It to Pinterest!
If you enjoyed this Galette Dough recipe, don’t let it get lost in your browser tabs! 😄 Pin it now so you can find it again anytime — and explore hundreds more tried-and-tested recipes waiting for you on my Pinterest boards.
👉 Follow mia on Pinterest @chefrecipes2
📌 Pin this recipe · 🔁 Re-pin your favorites · 💬 Tag me when you make it — I love seeing your creations!
Got a question, or need a different filling idea? Drop it in the comments or connect with me on social platforms!
Galette Dough
A delicious galette starts with a buttery galette crust. This is my go-to galette dough recipe that I use for both sweet and savory galette recipes.
Ingredients
- 1 ½ cups (213 gr.) of all-purpose flour, more to flour the surfaces
- ½ teaspoon kosher salt
- 10 tablespoons (142.5 gr.) cold unsalted butter, cut into small cubes
- 4–5 tablespoons ice-cold water
- 1 large egg yolk
Instructions
- To make the galette dough: Place flour and salt in the bowl of a food processor. Pulse for a few times to mix. Add in the cold butter cubes. Pulse 8-10 times until butter resembles small clumps.
- Turn the machine on and add in 4 tablespoons of ice-cold water in one tablespoon increments.
- At this point, it should start to come together and form into a ball. If not add in the rest of the water until it does.
- Transfer onto a lightly floured surface, form it into a 4-inch disk, and wrap with plastic. Place in the fridge for at least 1 hour or overnight.
- Take it out of the fridge 10 minutes before you are ready to roll it out.
- Lightly flour your working surface. Roll the dough into a large 12-inch circle. Transfer onto the parchment paper and then onto the baking sheet.
- Place your filling (depending on the recipe you are using) on top slightly mounting in the middle, leaving a 3-inch border around the edges.
- Roll the sides of the dough overlapping as you go around and pleating the dough.
- Brush the edges of the dough (the outer crust) with egg yolk.
- Bake according to the instructions of the recipe you are using.
Nutrition
- Calories: 1744 kcal
- Sugar: 1 g
- Fat: 120 g
- Carbohydrates: 144 g
- Protein: 23 g
Tried This Recipe? Leave a Comment!
Did you make this recipe? I’d love to hear how it turned out! Please leave a comment and a rating below. Your feedback helps other home cooks and supports cheerychop.com!
For more delicious inspiration, follow me on Pinterest!