Table of Contents
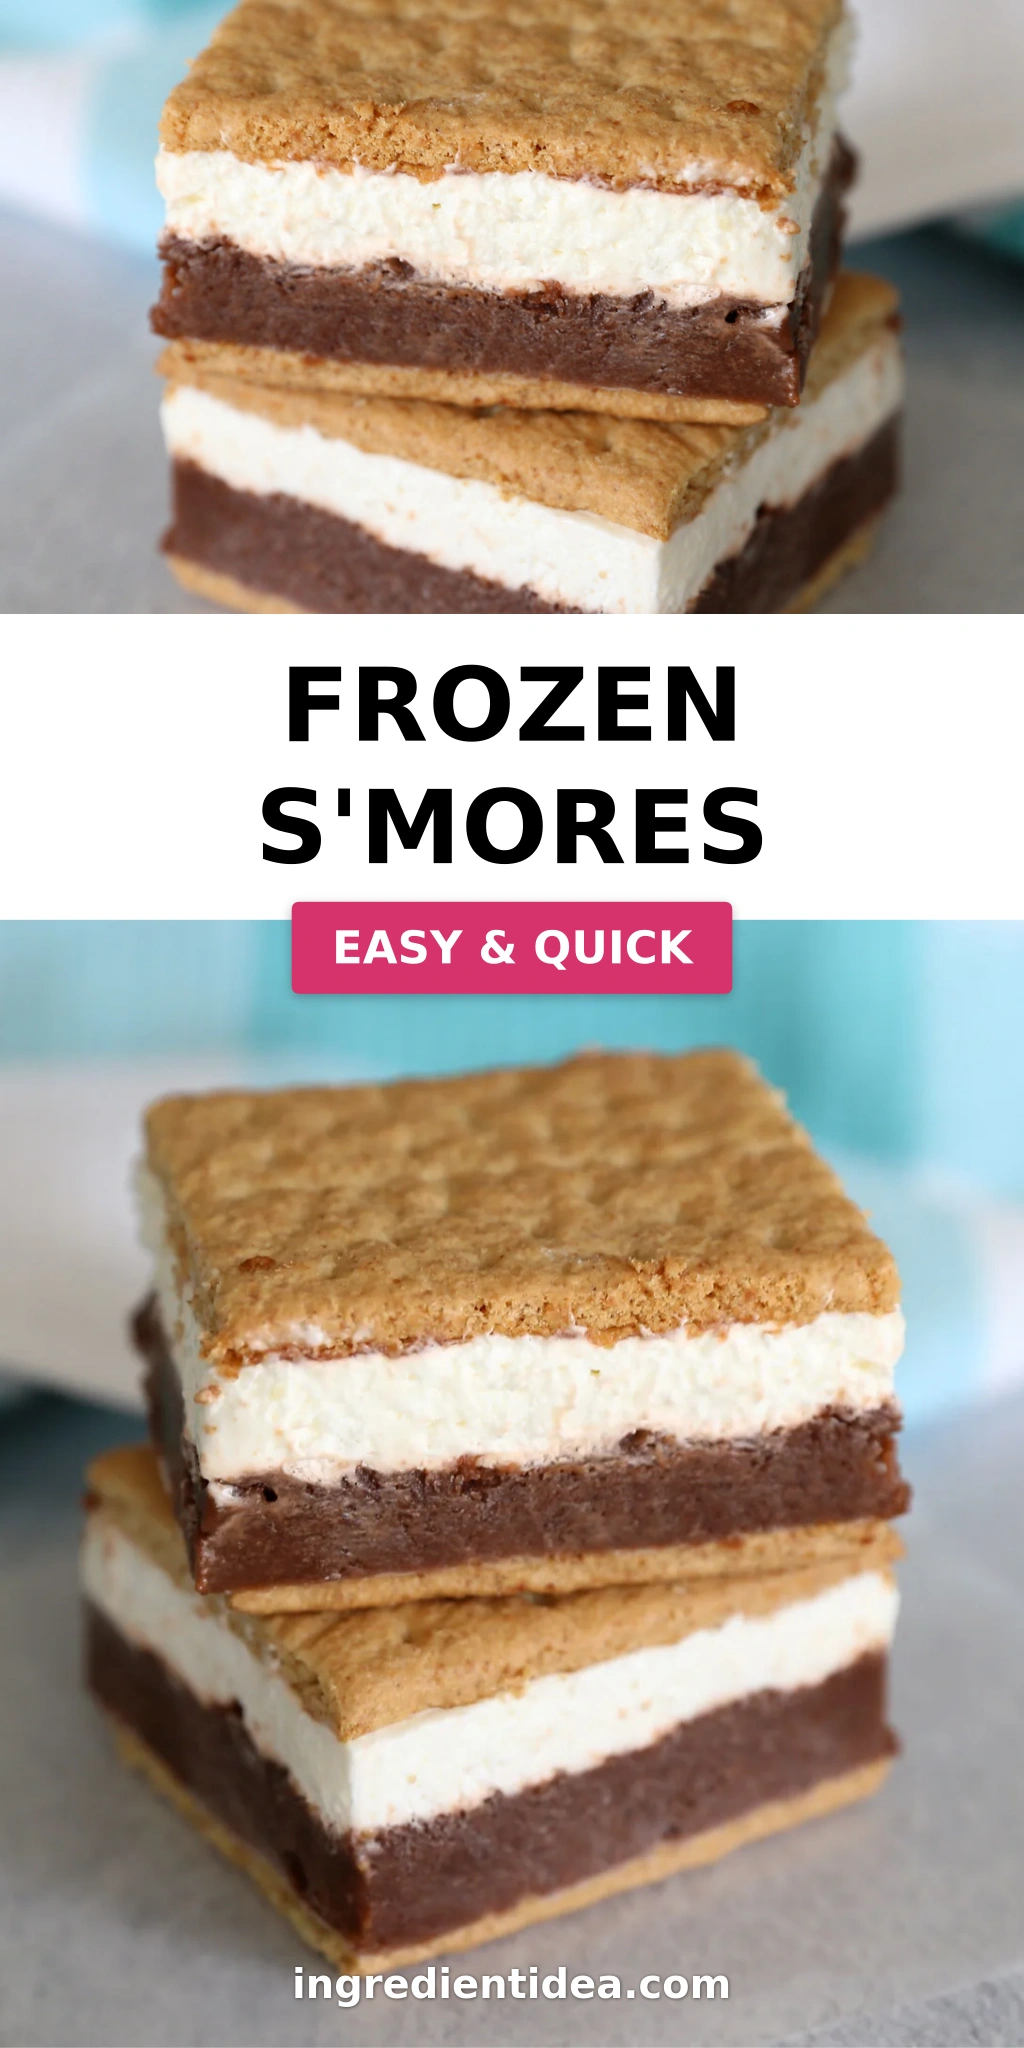
Frozen S’mores: No-Bake, Cool, and Creamy Dessert
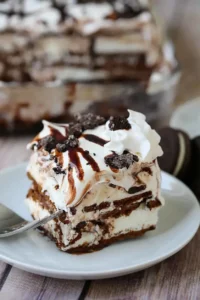
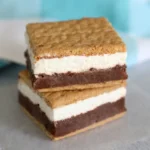
Growing up in Morocco, my mother would make a chilled dessert called halwa—a sweet, creamy treat that we’d savor during the hottest afternoons. That memory of something cool and comforting stayed with me through culinary school in Paris and now in my NYC kitchen. This Frozen S’mores recipe is my no-bake tribute to those days, capturing the essence of a campfire classic in a cool, creamy bar. This easy s’mores dessert layers a crunchy graham cracker base with silky chocolate pudding and a fluffy marshmallow cream topping—all frozen to perfection.
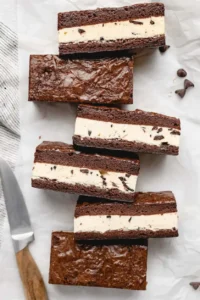
Imagine the satisfying snap of a graham cracker, followed by the rich, velvety chocolate and the airy, sweet marshmallow. It’s a symphony of textures: the cracker stays surprisingly crunchy, the pudding is dense and fudgy, and the marshmallow layer is cloud-like. I’ve perfected the technique in my tiny NYC apartment kitchen, and I promise you, it’s a game-changer for summer entertaining. You get all the smoky-sweet nostalgia without ever turning on the oven.
What makes my version stand out? I use a quick trick with cream cheese to stabilize the marshmallow layer, preventing it from becoming icy and ensuring that perfect, creamy bite. Plus, a key pro tip on the graham cracker placement keeps them crunchy even after freezing. I’ll also share a common mistake to avoid so your bars slice beautifully. Trust me, this no bake s’mores recipe is foolproof and will become your go-to summer dessert.
Why This Frozen S’mores Recipe Is the Best
The Flavor Secret: The magic is in the contrast. The instant chocolate pudding is a blank canvas for rich, deep cocoa flavor—I always use whole milk for a creamier texture. The marshmallow layer, stabilized with a bit of cream cheese, mimics the gooeyness of a toasted marshmallow without the heat. It’s a technique I learned in Paris for a silky mousse that holds its shape beautifully. This isn’t just a frozen dessert; it’s a nostalgic experience with a chef’s twist.
Perfected Texture: Getting that graham cracker to stay crunchy while everything else freezes solid is the trick. The secret lies in building the layers correctly. The pudding acts as a barrier, and the freeze time is critical. I’ve tested this dozens of times to ensure the cracker retains a satisfying snap, not a soggy mess. It’s all about the order of assembly and giving the filling enough time to firm up completely.
Foolproof & Fast: With just 15 minutes of prep, this frozen s’mores treat is perfect for beginner cooks. No baking, no fancy equipment. I use store-bought shortcuts that deliver consistent results, so you can focus on the fun part: eating. This is the kind of dessert you can make in the morning and serve after dinner—simple, impressive, and absolutely delicious.
Frozen S’mores Recipe Ingredients
When I’m shopping for ingredients in my bustling NYC neighborhood, I always grab the essentials from my local bodega. The key is to use quality, recognizable brands. My mother would have used fresh ingredients from the souk, but here, these pantry staples work beautifully. Let’s look at what you’ll need.
Ingredients List
- 1 box Instant Chocolate Pudding (5.9 oz)
- 2.5 cups Cold Milk (whole or 2%)
- 12-15 Graham Crackers (about 6 sheets, broken in half)
- 7 oz Marshmallow Creme (one jar)
- 4 oz Cream Cheese (softened)
- 8 oz Frozen Whipped Topping (thawed, like Cool Whip)
Ingredient Spotlight
Instant Chocolate Pudding: This is the backbone of the chocolate layer. I prefer Jell-O brand for its reliable, smooth consistency. The instant variety is crucial because it sets quickly without needing to cook. Avoid cook-and-serve pudding boxes, as they require stovetop preparation and won’t set the same way in the freezer. The box is usually 5.9 ounces, which is perfect for this recipe.
Marshmallow Creme (Fluff): This is the secret to that authentic s’mores flavor without the mess of melting marshmallows. I use the classic Jet-Puffed or store brand. It’s incredibly stable when mixed with cream cheese. A test substitution: you can melt 7 oz of mini marshmallows with 1 tablespoon of water, but the texture will be gooier and more prone to ice crystals.
Graham Crackers: These provide the crunch. I use standard honey graham crackers (like Nabisco). They’re sturdy enough to hold up to the wet layers. A common mistake is using thin, fragile crackers that will disintegrate. For a gluten-free version, use gluten-free graham crackers—they work just as well but might lack a bit of snap.
| Original Ingredient | Best Substitution | Flavor / Texture Impact |
|---|---|---|
| Graham Crackers | Gluten-free graham crackers | Slightly crumblier, but still crunchy |
| Instant Chocolate Pudding | Sugar-free instant chocolate pudding | Slightly less sweet, same texture |
| Marshmallow Creme | 7 oz melted mini marshmallows with 1 tbsp water | Gooier, more prone to ice crystals |
| Frozen Whipped Topping | Heavy cream (1 cup, whipped stiff) | Rich, but may deflate; use a stabilizer |
How to Make Frozen S’mores — Step-by-Step
Now let’s get to it. This is easier than a trip to the store, I promise. Just follow these clear steps, and you’ll have a perfect summer treat.
Step 1: Prepare the Pan and Graham Cracker Base
Line a 9×13-inch baking pan with parchment paper, leaving an overhang on two opposite sides. This will make it super easy to lift the frozen block out later. Break 6 graham cracker sheets in half to create 12 squares. Place them in a single layer on the bottom of the pan. If your pan has straight sides, you might fit 15 squares—arrange them snugly. This is the foundation of your frozen s’mores.
💡 mia’s Pro Tip: For an extra-crunchy base, lightly toast the graham crackers in a 350°F oven for 3-4 minutes before using. Let them cool completely. This adds a toasty, campfire-like flavor and ensures they never get soggy.
Step 2: Make the Chocolate Pudding Layer
In a medium bowl, beat together the instant chocolate pudding mix and 2.5 cups of cold milk using a whisk or electric hand mixer. Beat for about 2 minutes until it’s smooth and creamy. It will be slightly thick. Gently fold in about a quarter of the thawed frozen whipped topping—this is just over half a cup. This lightens the pudding and makes it even more silky.
⚠️ Common Mistake to Avoid: Don’t over-mix the pudding after you add the milk. You can get lumps if you beat it too long. Just whisk until it’s uniform. Over-whipping can also make it grainy once frozen.
Step 3: Chill the Pudding Layer
Spoon the chocolate pudding mixture over the graham cracker base in the pan. Use an offset spatula to spread it into an even layer. Place the pan in the freezer for about 10-15 minutes. This crucial step firms up the pudding so it doesn’t mix into the next layer.
💡 mia’s Pro Tip: While the pudding chills, quickly clean your mixing bowl. You’ll need it for the marshmallow layer. Use a rubber spatula to get every bit of goodness out.
Step 4: Make the Marshmallow Cream Layer
In a clean medium bowl, beat the softened cream cheese with the marshmallow creme until completely smooth and fluffy. There should be no lumps of cream cheese. This usually takes about 2 minutes with an electric mixer. Then, fold in the remaining frozen whipped topping gently, using a spatula. You want to keep it airy. Your mixture should be thick and creamy, like a mousse.
⚠️ Common Mistake to Avoid: Cold cream cheese will create lumps. Make sure your cream cheese is fully softened to room temperature—let it sit out for at least 30 minutes. If you are in a hurry, gently microwave it for 10 seconds at a time until it’s soft but not melted.
Step 5: Add the Top Graham Crackers
Remove the pan from the freezer. Spoon the marshmallow mixture over the now-chilled pudding layer and spread it out evenly. Then, immediately place 12 (or 15) more graham cracker squares on top, pressing them gently into the marshmallow layer. They should sit flush with the surface. This creates the top crunchy layer.
💡 mia’s Pro Tip: Press the top graham crackers in gently but firmly. You want them to adhere to the marshmallow layer without sinking all the way through. If you press too hard, the filling will squish out the sides.
Step 6: Freeze and Slice
Cover the pan tightly with aluminum foil and place it in the freezer for at least 6 hours, preferably overnight. This ensures the s’mores are completely firm. When you’re ready to serve, remove the pan from the freezer and let it rest at room temperature for about 10 minutes. Use a long sharp knife to slice the excess filling from around the outer edges of the graham crackers, then slice in between each cracker to create individual bars. Serve immediately.
⚠️ Common Mistake to Avoid: Do not let them sit out for too long or the graham crackers will become soft. Ten minutes is the sweet spot. Use a hot knife (run it under hot water and dry it) for the cleanest cuts.
| Step | Action | Duration | Key Visual Cue |
|---|---|---|---|
| 1 | Line pan with parchment and add graham base | 2 minutes | Grahams cover the bottom in a single layer |
| 2 | Make pudding layer and spread over base | 5 minutes | Smooth, creamy chocolate layer |
| 3 | Chill pudding layer | 10-15 minutes | Pudding is slightly firm to the touch |
| 4 | Make marshmallow layer and spread | 5 minutes | Fluffy, white, smooth layer on top |
| 5 | Add top graham crackers | 2 minutes | Grahams are flat on top of marshmallow |
| 6 | Freeze and slice | 6-8 hours + 10 min rest | Firm, clean slices without smushing |
Serving & Presentation
These frozen s’mores are stunning on their own, but a little presentation goes a long way. I love to serve them on a rustic wooden board, reminiscent of a campfire, or a sleek white platter for a more elegant look. A light dusting of cocoa powder or a drizzle of melted chocolate on top adds a professional touch. For a strong NYC coffeehouse vibe, serve alongside a shot of espresso.
In Morocco, we’d often serve a similar chilled treat with mint tea. Here, I pair these bars with a cold glass of milk (for the kids) or a rich, dark porter beer. The bitterness cuts through the sweetness beautifully. For a fun twist, add a small dollop of whipped cream and a maraschino cherry on top of each bar just before serving.
| Pairing Type | Suggestions | Why It Works |
|---|---|---|
| Side Dish | Fresh berries, a green salad | Brings freshness and balance |
| Sauce / Dip | Chocolate fudge, caramel sauce | Adds a decadent, gooey element |
| Beverage | Cold milk, hot coffee, dark beer | Cuts sweetness and refreshes the palate |
| Garnish | Cocoa powder, chocolate shavings, mint sprig | Adds visual appeal and a flavor boost |
Make-Ahead, Storage & Reheating
As a busy New Yorker, I always make a double batch of these. They are the perfect make-ahead dessert for a summer barbecue or a quick
Print
Frozen S’mores
Layers of chocolate pudding and marshmallow creme make these frozen s’mores the best way to enjoy a s’more on a hot summer day!
Ingredients
- 1 box Instant Chocolate Pudding (5.9 oz)
- 2.5 cups Cold Milk (whole or 2%)
- 12–15 Graham Crackers
- 7 oz Marshmallow Creme
- 4 oz Cream Cheese (softened)
- 8 oz Frozen Whipped Topping (thawed)
Instructions
- Line a 9×13 pan with parchment paper, allowing paper to overhang pan. Break 6 graham crackers in half and place 12 graham cracker squares down on the parchment paper. If your pan has square edges you may be able to fit 15 graham cracker squares.
- In a medium bowl, beat together the pudding mix and milk until smooth and creamy. Then stir in about a quarter of the frozen whipped topping (Cool Whip) – just over half a cup. Spoon the pudding over the graham crackers, then spread it out smooth.
- Place pan in the freezer while you mix up the marshmallow layer.
- In a medium bowl, beat together cream cheese and marshmallow cream until smooth. Fold in the rest of the whipping topping. Remove pan from freeze and spoon marshmallow mixture over the pudding, then spread it out smooth.
- Place twelve (or 15) graham cracker squares over the marshmallow layer.
- Cover the pan with foil and freeze for about six hours, until the s'mores are firm enough to slice through.
- Remove from freezer and rest at room temperature for about 10 minutes. Use a long sharp knife to slice the excess filling from around the outer edges of the graham crackers. Then slice in between each cracker. Serve immediately.
- To store for later, place frozen s'mores in an airtight container with piece of parchment paper in between each treat. Store in the freezer for up to three months. After they've been frozen, allow to sit at room temperature for 10 minutes before eating.
Tried This Recipe? Leave a Comment!
Did you make this recipe? I’d love to hear how it turned out! Please leave a comment and a rating below. Your feedback helps other home cooks and supports cheerychop.com!
For more delicious inspiration, follow me on Pinterest!