Table of Contents
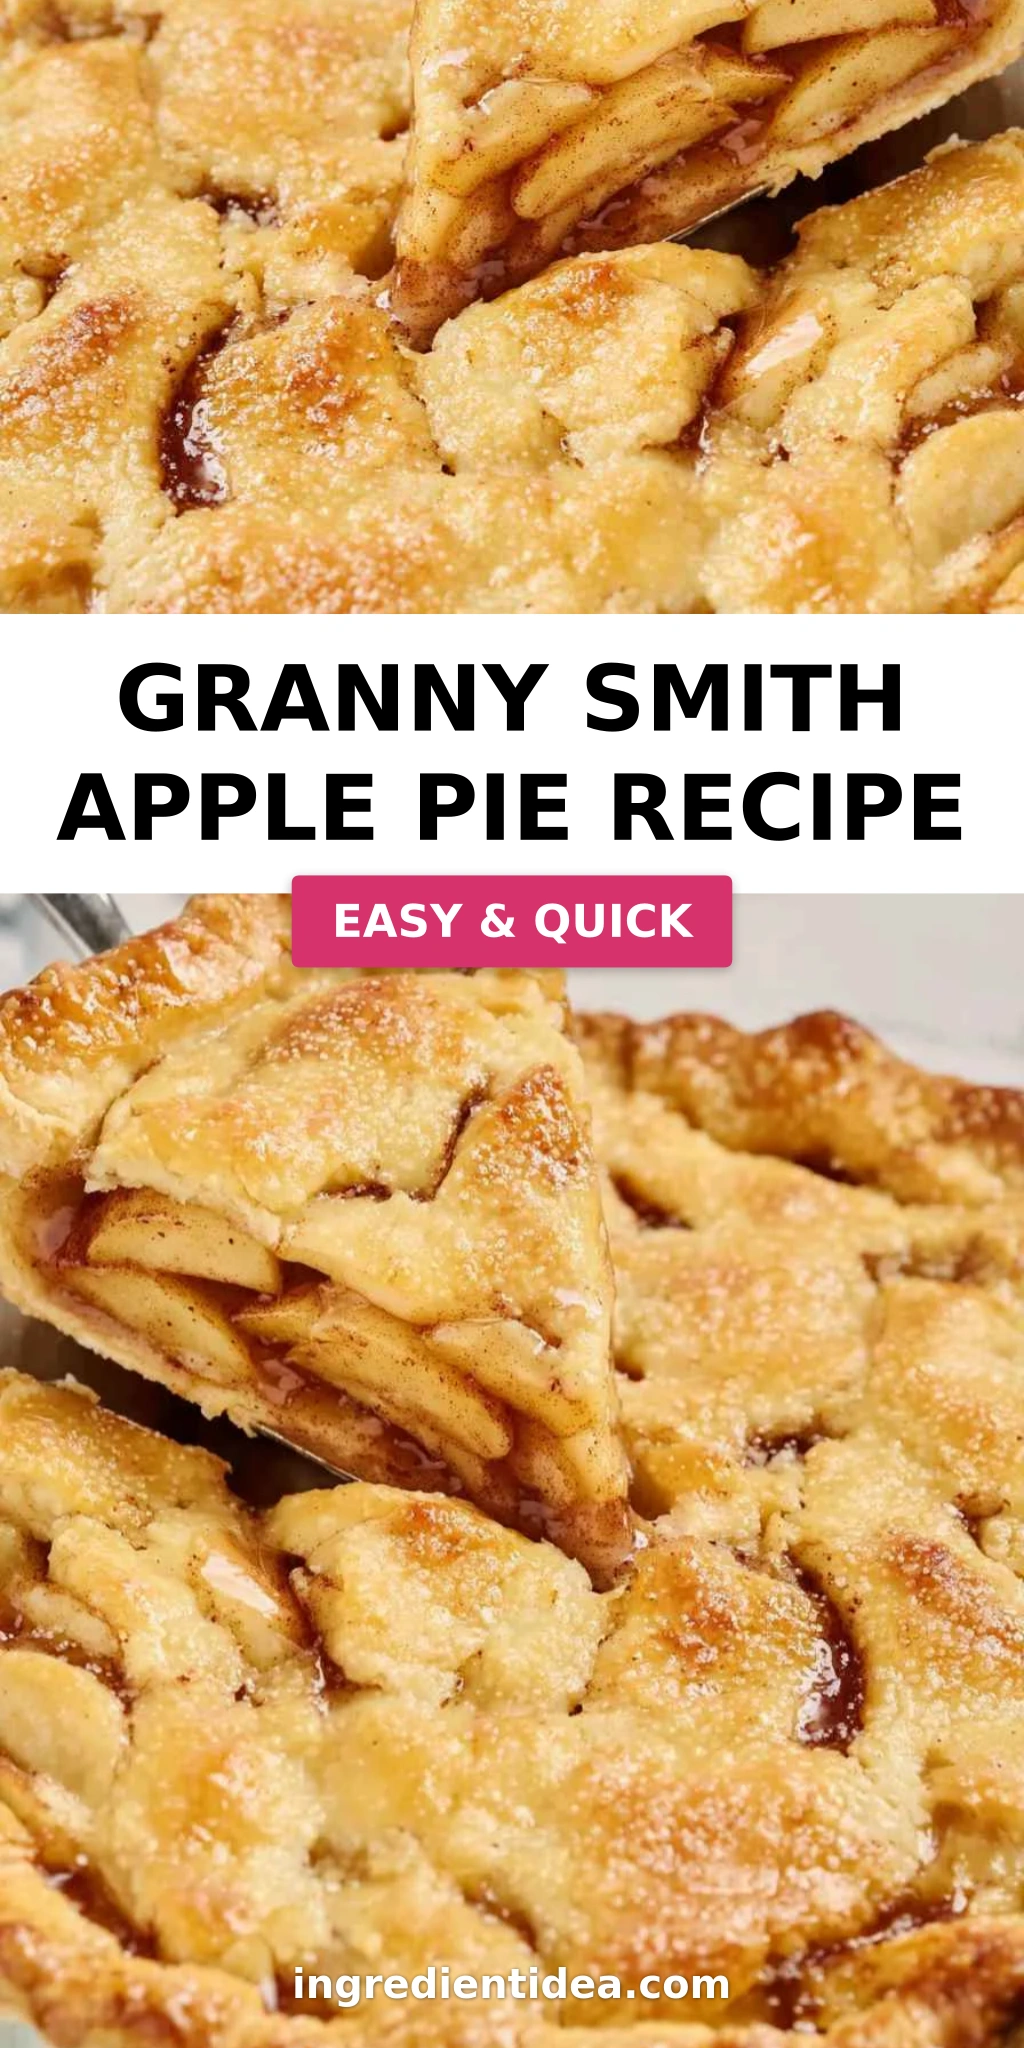
Granny Smith Apple Pie Recipe – Tart and Tender
I still remember the day I first tasted a truly perfect apple pie. It was at a neighbor’s fall gathering in Brooklyn, and I was sure my own recipe was the best. Then she served hers. The crust was impossibly flaky, the filling tart and clear, not mushy at all. I asked for her secret, and she smiled: “Granny Smith apples and a little patience.” That moment changed everything for me. This Granny Smith apple pie recipe is the result of that lesson, combined with everything I learned in pastry school in Paris and from my mother’s kitchen in Morocco. It’s the classic apple pie you’ve been searching for—bright, tender, and never soggy.
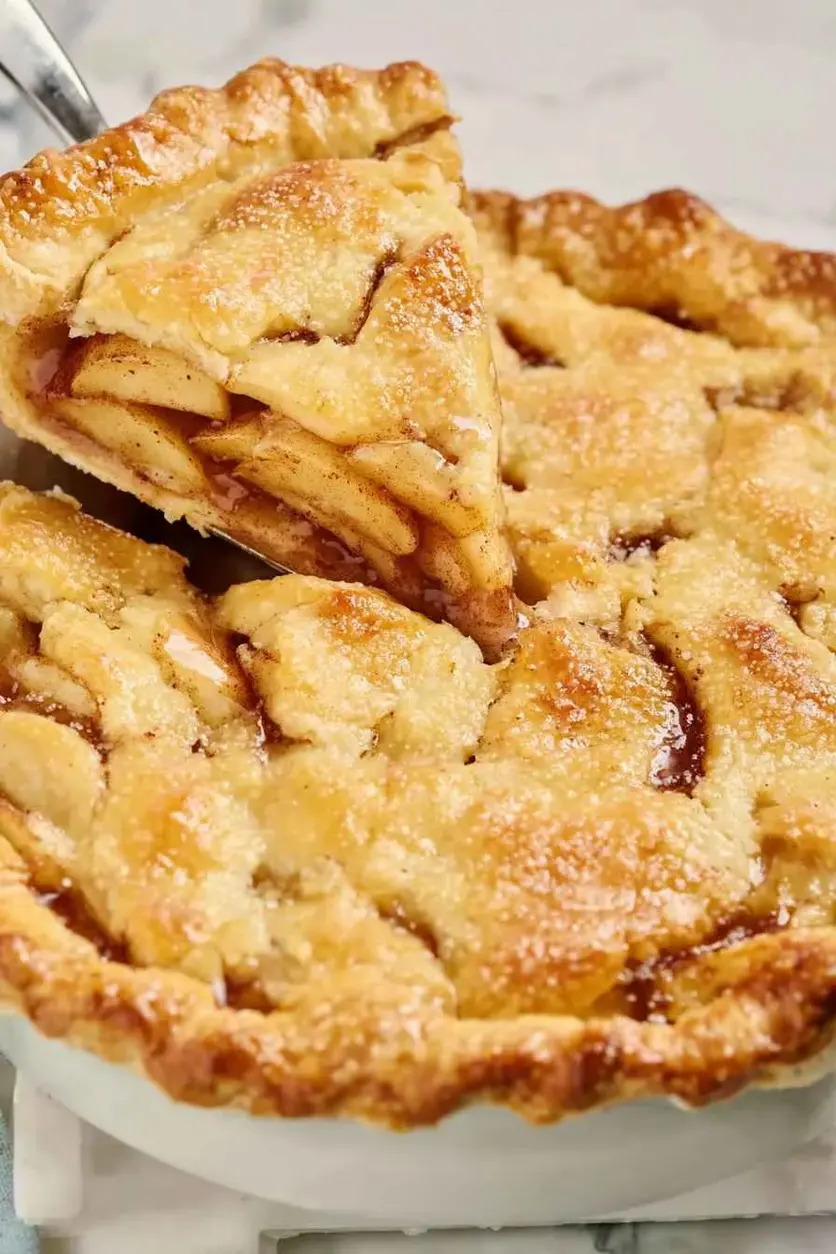
When you slice into this homemade apple pie, you’ll hear the crust shatter before it gives way to perfectly cooked apples. The slices hold their shape, glistening in a lightly spiced syrup that’s just sweet enough to balance the signature Granny Smith tang. A whisper of nutmeg and a touch of lemon zest lift the flavor, while the buttery, golden-brown lattice top invites you in. One bite, and you’ll taste the crisp fall air of a New York orchard, the warmth of a Moroccan spice market, and the refinement of a French pâtisserie—all in one unforgettable slice.
This easy apple pie recipe is special because it solves the biggest home-baker headache: the soggy bottom crust. I use a simple technique I developed in my NYC test kitchen—lightly pre-cooking the filling on the stovetop to release excess moisture before it hits the pastry. That, plus a hot baking sheet under the pie, guarantees a bottom crust that stays crisp and golden. In this post, I’ll walk you through every step, share my best pro tip for a flaky lattice top, and warn you about the most common mistake that turns apple pie filling into soup.
Why This Granny Smith Apple Pie Recipe Is the Best
The Flavor Secret. The key is starting with exclusively Granny Smith apples. Their high acidity and firm texture hold up to baking beautifully, creating a filling that’s bright, not cloying. I add a precise blend of white and brown sugars—just enough to enhance the apple flavor without overpowering it. This combination, inspired by the balance I learned in French pastry work, makes this the best apple pie for anyone who loves a true apple-forward taste.
Perfected Texture. My Parisian training taught me that great texture comes from controlling moisture. I sauté the apple slices briefly with the sugars and spices before baking. This step, which I call “pre-sweating,” draws out excess liquid and concentrates the apple flavor. The result: a filling that’s tender, not watery, with every slice perfectly intact and no gaping air pockets under the top crust.
Foolproof and Fast. Even if you’re a first-time pie baker, this easy apple pie recipe is designed to work. The pre-cooked filling eliminates guesswork—you don’t have to wonder if the apples are done. Plus, I use a store-bought pie crust shortcut (with a few enhancements) so you can focus on the filling and the beautiful lattice. It’s the kind of reliable, comforting dessert I love to teach in my NYC cooking classes: impressive, but totally achievable.
Best Apple Pie Ingredients
The best ingredients make the best pie. When I’m shopping for this recipe, I head straight to the Union Square Greenmarket for peak-season Granny Smiths. Back in Morocco, my mother would use local apples with a similar tart bite, always picked at the height of their flavor. Every component here has a purpose, from the lemon zest that brightens the filling to the sanding sugar that adds a sparkle and crunch.
Ingredients List
- 2 (9-inch) pie shells (homemade or store-bought, thawed if frozen)
- 7 large Granny Smith apples, peeled, cored, cut into 1/2-inch slices
- 1/2 cup white sugar
- 1/2 cup lightly packed brown sugar
- 2 tbsp all-purpose flour
- 1 tsp ground cinnamon
- 1/8 tsp ground nutmeg
- 1 tbsp lemon juice
- Zest from 1/2 a lemon
- 1 large egg, beaten (for egg wash)
- 2 tbsp sanding sugar, if desired
Ingredient Spotlight
Granny Smith Apples. These are the star. Look for apples that are firm, bright green, and heavy for their size—a sign they’re full of moisture and flavor. Avoid any with soft spots or bruises. The tartness is essential for balancing the sugar and creating a lively filling.
White and Brown Sugar. I use a 50-50 blend because white sugar provides clean sweetness, while brown adds a subtle molasses depth that complements the cinnamon. If you only have one type, you can use all brown sugar for a richer, more caramel-like flavor, but the pie will be slightly darker.
All-Purpose Flour. This is the thickener here. Sautéing the apples with flour before baking helps create a silky, jammy consistency without being gluey. For a gluten-free option, swap in an equal amount of cornstarch or arrowroot powder—just dissolve it in the lemon juice first to prevent lumps.
| Original Ingredient | Best Substitution | Flavor / Texture Impact |
|---|---|---|
| Granny Smith Apples | Firm, tart apples like Braeburn or Honeycrisp | Slightly less tart; will need a pinch more lemon juice. |
| Brown Sugar | Coconut sugar or light muscovado | Deeper molasses note; texture slightly less moist. |
| All-Purpose Flour | Cornstarch or arrowroot powder (use same amount) | Clearer, more glossy filling; gluten-free friendly. |
| Pie Crust Shell | Gluten-free pie crust or puff pastry | Puff pastry will be lighter and less sturdy; reduce blind-bake time. |
How to Make Classic Apple Pie — Step-by-Step
Making this Granny Smith apple pie recipe is a joy. I’ve broken it down into easy, manageable steps. Follow these, and you’ll have a golden, bubbling pie that will steal the show at any gathering.
Step 1: Prepare the Crust
If using store-bought crust, let the two shells sit at room temperature for about 15 minutes until pliable. Lightly flour your work surface and roll each one out to a 12-inch circle. Place one crust into your 9-inch pie dish, pressing it gently against the bottom and sides. Trim the excess, leaving a 1-inch overhang. Place the pie dish in the fridge to chill while you prepare the filling.
💡 mia’s Pro Tip: For an extra-flaky crust, brush the bottom shell with a thin layer of melted butter before adding the filling. This creates a moisture barrier that prevents sogginess.
Step 2: Make the Filling
In a large bowl, whisk together the white sugar, brown sugar, flour, cinnamon, and nutmeg. Add the sliced apples, lemon juice, and lemon zest, and toss until the apples are evenly coated. In a large skillet (non-stick or cast iron works great), cook the apple mixture over medium-high heat for 5 to 7 minutes, stirring constantly. The apples will start to soften and release liquid. The mixture will thicken slightly. Remove from heat and let cool for 10 minutes.
⚠️ Common Mistake to Avoid: Don’t skip the pre-cooking step. Raw apples shrink during baking, leaving a gap between the filling and the top crust. Pre-cooking prevents this and removes excess moisture.
Step 3: Assemble the Pie
Preheat your oven to 400°F (200°C) and place a rimmed baking sheet on the middle rack to heat. Spoon the cooled filling into the chilled bottom crust, spreading it evenly. Roll out the second crust and cut it into 1-inch strips using a sharp knife or pastry wheel. Arrange the strips in a lattice pattern over the filling, pressing the edges to seal. Fold the overhanging bottom crust up and over the lattice edges, then crimp as desired.
💡 mia’s Pro Tip: For a neat lattice, lay your vertical strips first, then fold back every other strip to weave in the horizontal ones. Use a ruler to keep space even—it’s a trick I learned in Paris for perfect pastry.
Step 4: Bake to Perfection
Brush the top crust and edges with the beaten egg wash, then sprinkle with sanding sugar (if using). Place the pie on the preheated baking sheet in the oven. Bake for 20 minutes at 400°F, then reduce the oven temperature to 375°F (190°C). Continue baking for another 40 to 50 minutes, until the crust is a deep golden brown and the filling is bubbling up through the lattice. If the edges begin to brown too quickly, cover them with a pie shield or strips of foil.
⚠️ Common Mistake to Avoid: Baking on a cold oven rack can cause the bottom crust to be pale and undercooked. The preheated baking sheet delivers a blast of heat from below that guarantees a crisp bottom.
Step 5: Cool and Serve
Remove the pie from the oven and let it cool on a wire rack for at least 3 hours. This is crucial—the filling needs time to set; if you cut too soon, it will run all over the plate. Once cooled, slice and serve. For the full experience, I like to add a scoop of vanilla ice cream.
💡 mia’s Pro Tip: For the cleanest slices, chill the pie in the fridge for 30 minutes after it has cooled completely. This firms up the filling even more, giving you picture-perfect pieces every time.
| Step | Action | Duration | Key Visual Cue |
|---|---|---|---|
| 1 | Prepare Crust | 15 mins | Crust is pliable, not sticky. |
| 2 | Make Filling | 15 mins | Apples soften, liquid thickens. |
| 3 | Assemble Pie | 10 mins | Lattice is even, edges crimped. |
| 4 | Bake Pie | 60–70 mins | Crust is deep golden, filling bubbles. |
| 5 | Cool and Serve | 3+ hours | Filling is set, no runny juices. |
Serving and Presentation
This homemade apple pie is a showstopper all on its own. I love to serve it warm, but not hot—room temperature is ideal. For plating, place a generous slice on a plate and add a dollop of freshly whipped cream or a scoop of vanilla bean ice cream. A dusting of cinnamon on the plate adds a beautiful touch. My Moroccan grandmother used to drizzle a bit of warm honey over her fruit pies, and that’s a fantastic option here too.
For a New York-style presentation, serve the pie with a side of sharp cheddar cheese—it sounds unusual, but the salty, tangy cheese is a classic pairing that beautifully contrasts the sweet, tart apples. When I entertain, I sometimes cut the pie into small wedges and serve them on a wooden board with caramel sauce and flaked salt for dipping. It’s a fun, interactive way to enjoy this best apple pie.
| Pairing Type | Suggestions | Why It Works |
|---|---|---|
| Side Dish | Sharp cheddar cheese, aged gouda | The salty, nutty notes cut the sweetness and enhance the apples. |
| Sauce / Dip | Vanilla ice cream, caramel sauce, crème anglaise | Creamy, rich sauces balance the tart apples perfectly. |
| Beverage | Spiced chai, black coffee, hard cider | Warm, spiced drinks complement the cinnamon and nutmeg. |
| Garnish | Cinnamon stick, star anise, mint sprig | Adds visual appeal and aromatic notes. |
Make-Ahead, Storage & Reheating
This easy apple pie recipe is perfect for busy weeks. I often make the filling a day ahead and store it in the fridge, then assemble and bake the pie the morning of an event. If you have leftovers—though they rarely last long in my NYC apartment—they store beautifully.
Tried This Recipe? Leave a Comment!
Did you make this recipe? I’d love to hear how it turned out! Please leave a comment and a rating below. Your feedback helps other home cooks and supports cheerychop.com!
For more delicious inspiration, follow me on Pinterest!