Table of Contents
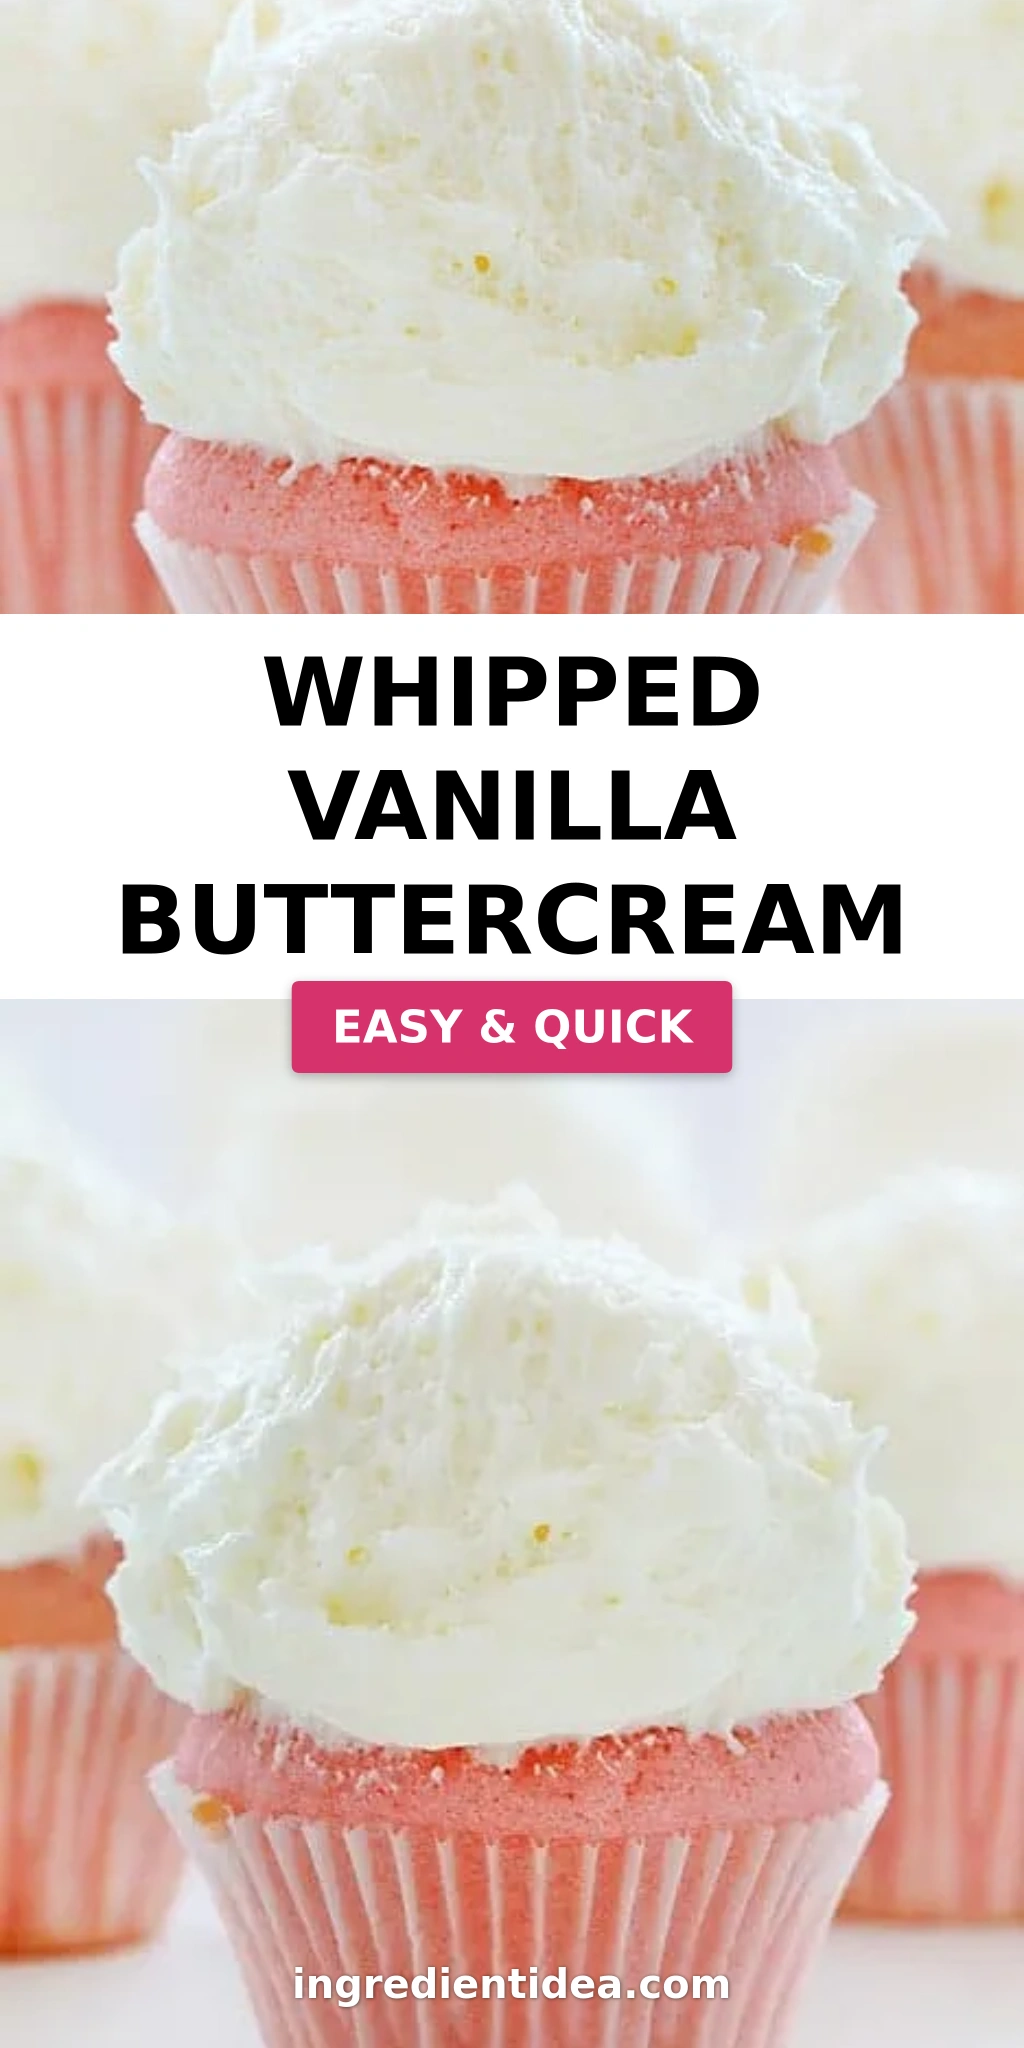
Vanilla Buttercream – A Whipped Delight for Every Cake
I still taste the warm breezes of my mother’s Marrakech kitchen whenever I whip a batter in my Manhattan loft. Growing up amid saffron‑infused tagines and the scent of fresh basmati, I learned that the secret to vibrant flavor isn’t just ingredients—it’s technique. That’s why I’ve taken the humble vanilla buttercream and given it a silky twist by whipping with a whisk attachment for maximum fluff.
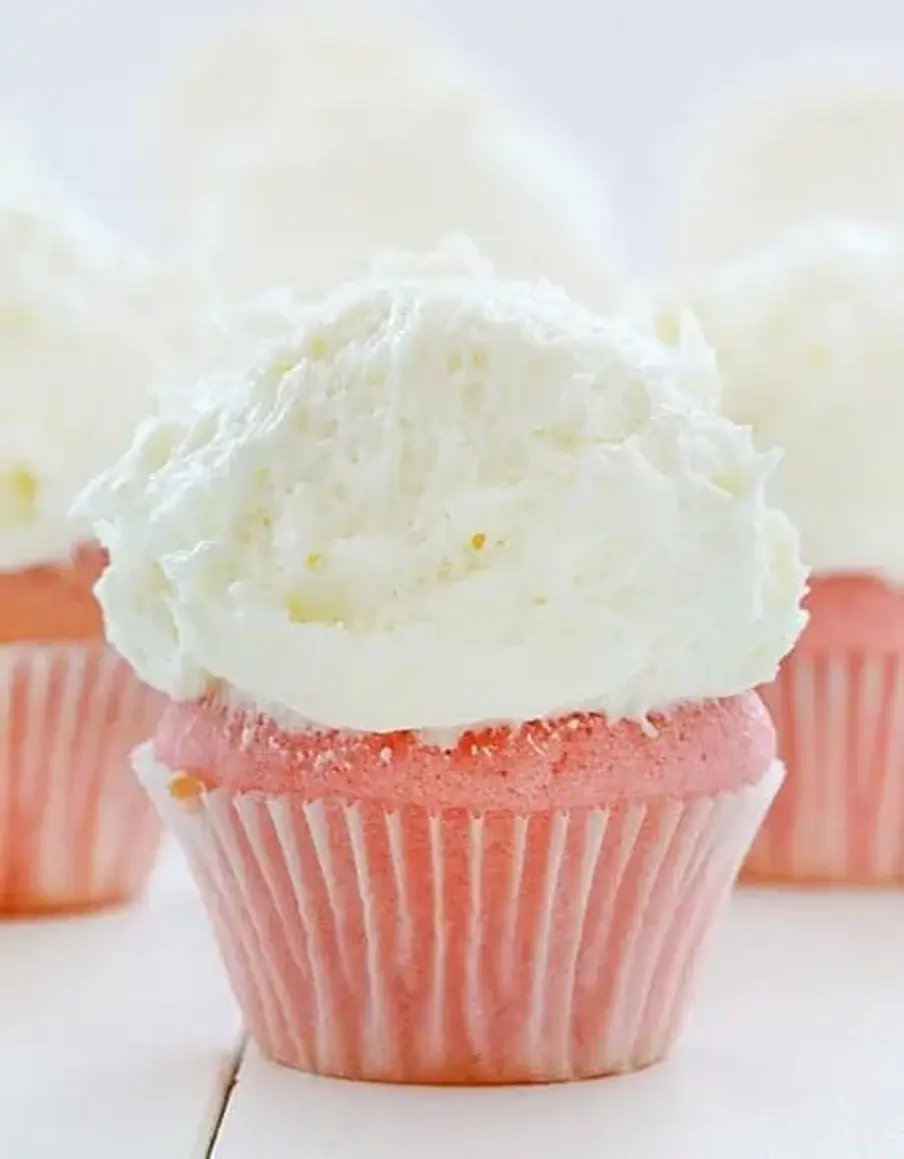
Imagine a frosting that feels like cloud on a cotton‑topped cupcake, with the sweet, smoky note of almond extract drifting in every bite. A burst of vanilla aroma that lingers long after the last crumb, while the light, airy texture makes it easy to pipe even the most elaborate designs. The visual appeal? A gleaming swirl of pale ivory that catches the eye and holds your guests’ attention as they admire each delicate layer.
This version is born from my love of French patisserie and the practical speed of New York baking. I’ve distilled a classic technique into an easy, foolproof recipe that beginners can master in minutes, while seasoned chefs will appreciate the extra depth from almond. The key? Whipping the butter first, then gradually folding in the sugar and a tiny pinch of salt—no more, no less. It keeps the frosting stable but tender, a rare balance that many get wrong.
Why This Vanilla Buttercream Recipe Is the Best
The Flavor Secret: The blend of Madagascar vanilla and roasted almond creates a warm, nutty kick that elevates ordinary sweetness. My Moroccan upbringing taught me that a small twist can turn the ordinary into extraordinary.
Perfected Texture: By using a stand mixer with a whisk attachment, the butter softens and air is incorporated faster, preventing lumps and giving a silky finish. I learned this method in Paris when I first practiced the “batter” technique in my pastry class.
Foolproof & Fast: Because the ingredients are simple and the steps minimal, anyone can whip the frosting in eleven minutes. No advanced whisking technique or temperature control—just patience and the right machine.
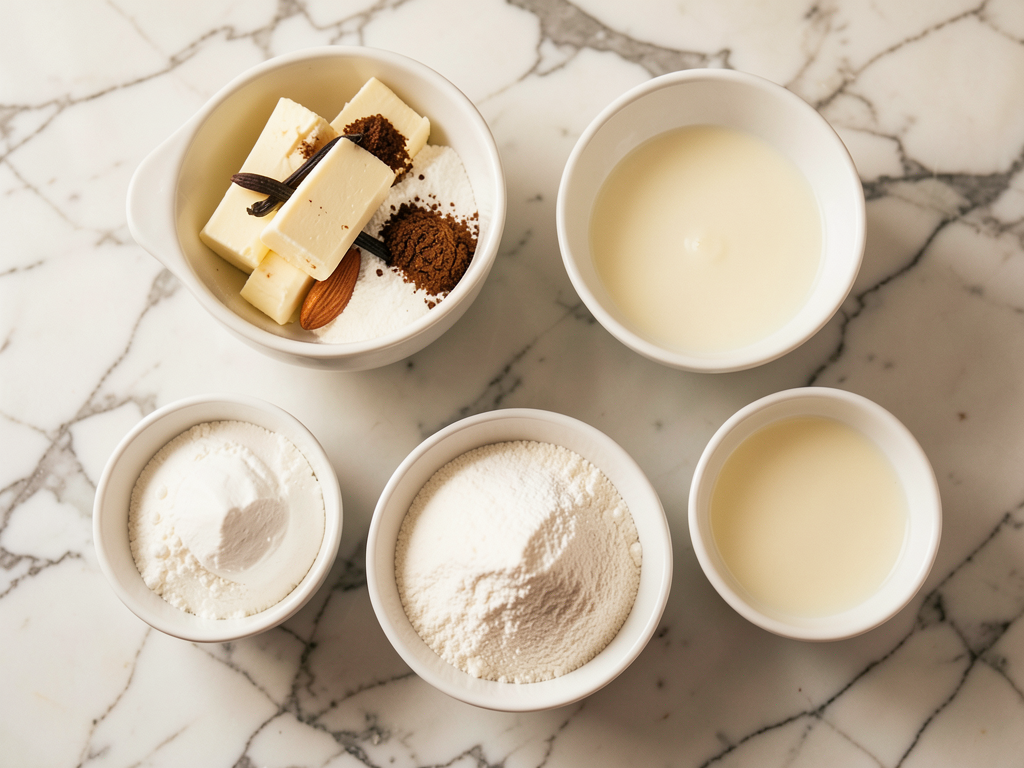
Whipped Vanilla Buttercream Ingredients
I shop for these staples at Chelsea Market, where I discover the freshest butter and the freshest vanilla beans. My memories of Morocco’s souks blend with the modern vibe of my NYC kitchen.
Ingredients List
- 1 cup (2 sticks or 226g) butter, softened to room temperature
- 2 teaspoons vanilla extract (use Madagascar for real depth)
- 1 teaspoon almond extract (optional, but a bonus)
- 4 cups (32 ounces) confectioners sugar, sifted*
- 2 tablespoons whole milk (up to ½ cup for looser consistency)
- pinch of salt
Ingredient Spotlight
Butter: Choose high‑fat, unscented European butter for the richest mouthfeel. In the U.S., look for “European‑style” brands— they have a 82% fat content that whips beautifully.
Vanilla Extract: To truly taste the vanilla, use pure extract. Substituting with vanilla pods (bloomed) will give you a more floral nuance.
Almond Extract: A touch of this spice adds a toasted note. Replace with pumpkin seed extract for a nutty twist that’s slightly sweeter.
| Original Ingredient | Best Substitution | Flavor / Texture Impact |
|---|---|---|
| European Butter | Domestic butter (high fat) | Slightly firmer frosting, but still fine |
| Vanilla Extract | Vanilla pods (bloomed) | More aromatic, less overpowering |
| Almond Extract | Pumpkin Seed Extract | Nutty, slightly sweeter profile |
How to Make Vanilla Buttercream – Step‑by‑Step
Let’s dive into a process that’s both satisfying and fast.
Step 1: Beat the Butter
Place softened butter in a cold stand‑mixer bowl. Attach the whisk, set to medium‑high, and whip for approx. 3 minutes until light, fluffy, and silky. Watch the surface turn pale; that’s your cue.
💡 mia’s Pro Tip: Keep the butter cool to prevent melting; if it starts to melt, stop the mixer momentarily and stir.
Step 2: Add Vanilla and Almond
Pour in vanilla extract first, then almond extract. Gently fold with a spatula so the liquid blends without knocking the air in.
⚠️ Common Mistake to Avoid: Skipping the almond extract, which reduces the depth and gives a flatter flavor.
Step 3: Incorporate Sugar
Reduce mixer speed to low. With a gentle hand, add confectioners sugar one cup at a time, ensuring each addition is fully incorporated before the next. Scrape bowl edges often.
💡 mia’s Pro Tip: Sift sugar beforehand to avoid lumps; a sifted, dry sugar ensures a smooth icing.
Step 4: Add Milk and Salt
Slowly pour milk, about a tablespoon at a time, while the mixer stays on low. Add a pinch of salt for contrast. Keep mixing until you reach a glossy, thick consistency.
⚠️ Common Mistake to Avoid: Adding too much milk too fast, which results in watery frosting.
Step 5: Whip High‑Speed
Turn the speed to medium‑high and whip for 3–5 minutes until the frosting triples in volume and turns silky smooth. If you’re using a larger batch, I personally went for 7 minutes.
💡 mia’s Pro Tip: Look for the “silk test”: touch a small amount; it should feel velvety and hold its shape for a few seconds.
Step 6: Adjust Consistency
If the frosting feels thick, add a teaspoon of milk at a time until you achieve the desired spreadability. If it’s too loose, incorporate a tablespoon of powdered sugar until firm.
⚠️ Common Mistake to Avoid: Over-whipping, which pushes the butter out and makes the frosting greasy.
| Step | Action | Duration | Key Visual Cue |
|---|---|---|---|
| 1 | Beat butter | 3 min, light and airy | Pale, puffed edges |
| 2 | Add extracts | 30 sec | Aroma released gently |
| 3 | Add sugar | 2 min | Smooth, no lumps |
| 4 | Add milk & salt | 1 min | Creamy sheen forms |
| 5 | Whip high speed | 3‑7 min | Foamy, glossy top |
| 6 | Adjust consistency | As needed | Smooth, spreadable |
Serving & Presentation
For a classic cake, pipe the frosting with a round tip onto a plain vanilla or lemon loaf, then swirl with a flat spatula for a modern look. If you’re dreaming big, consider piping tall tiers, adding subtle fresh mint or candied orange zest as garnish for that street‑market splash from Morocco.
Pair this airy vanilla buttercream with a citrus glaze for a bright contrast, or fold ground pistachios for a crunchy bite. The frosting also works on cupcakes, donuts, and even as a decadent drizzle over carrot cake.
| Pairing Type | Suggestions | Why It Works |
|---|---|---|
| Side Dish | Fresh fruit salad, citrus slaw | Bright acidity cuts sweetness |
| Sauce / Dip | Whipped mascarpone with lemon zest | Richness paired with citrus |
| Beverage | Prosecco, sparkling lemonade, coffee | Effervescent or hot contrast |
| Garnish | Edible gold leaf, toasted almonds, candied citrus peel | Luxury texture and color |
Make‑Ahead, Storage & Reheating
I prepare batches in my weekly meal‑prep session, especially before a weekend brunch. The frosting stays fresh in a sealed container in the fridge for up to two weeks. If you need a different day, rewhip on high speed for 30‑60 seconds; it will return to its original fluff.
| Method | Container | Duration | Reheating Tip |
|---|---|---|---|
| Refrigerator | Air‑tight jar | 7 days | Rewhip 30‑60 sec |
| Freezer | Plastic container | 1 month | Thaw 1‑2 h, rewhip 1 min |
| Make‑Ahead | Silicone molds | 2 days | Assemble last minute |
When I thaw a frozen batch, I let it sit at room temperature for a couple of hours. Then, a quick whirl in my mixer restores that silky plushness. It’s perfect for a spontaneous bakery‑style event where you need the frosting on the fly.
Variations & Easy Swaps
| Variation | Key Change | Best For | Difficulty Impact |
|---|---|---|---|
| Chocolate‑Infused | Add 1/4 cup melted dark chocolate | Chocolate cake lovers | Minor extra step |
| Gluten‑Free | Use almond flour sugar substitute | GF baking | Replace sweetener; same technique |
| Seasonal Citrus | Add 2 tbsp fresh lemon zest | Spring cakes | Extra zest; easy |
Chocolate‑Infused Vanilla Buttercream
Melt a small amount of dark chocolate and swirl into the buttercream for a ruby‑ruby swirl that echoes Parisian chocolate shops. The cocoa adds a bittersweet partner to the delicate vanilla, elevating the frosting for a sophisticated palate.
Gluten‑Free Vanilla Buttercream (Dairy‑Free Option)
Replace cow’s milk with coconut milk and use a vegan powdered sugar; the consistency remains creamy. The flavor is slightly tropical, a playful twist that keeps the frosting airy.
Seasonal Citrus Vanilla Buttercream
Freshly grated orange or lemon zest brightens the frosting, adding a bright pop that pairs wonderfully with carrot or red‑bud cakes. I find the zest brings back memories of street‑market stalls in Marrakech.
How do you make whipped vanilla buttercream less grainy?
Graininess often results from coarse or un‑sifted sugar. I always sift the confectioners sugar before adding it to the butter to eliminate lumps. Another trick is to add sugar in fine, thin streams while the mixer runs low; this allows each crystal to be fully integrated, preventing a gritty feel. If you still notice small grains, let the frosting chill for a few minutes—sometimes the sugars recrystallize at room temperature, and a brief rewhip smooths out the texture.
Can I use salted butter instead of unsalted for whipped vanilla buttercream?
Unsalted butter gives you complete control over the amount of salt in the final frosting. If you do use salted butter, reduce the pinch of salt in the recipe by roughly half. My experience is that salted butter can make the final frosting taste buttery and slightly salty, which works surprisingly well for savory cakes. I usually reserve salted butter for savory, salt‑infused frosting variations rather than sweet ones.
How long does it take to whip vanilla buttercream to the right consistency?
In my kitchen, the whole process—from butter to final fluff—takes about ten minutes. Beat the butter for three minutes, add extracts, then whisk the sugar and milk on low for a couple of minutes. Finally, whip high for three to five minutes until the frosting triples in volume. If you’re whipping large batches, adjust the speed to keep the mixture stable; sometimes a bit more time is needed.
What is the best way to thicken whipped vanilla buttercream if it’s too runny?
When the frosting feels too loose, add powdered sugar or confectioners sugar one tablespoon at a time, whisking until the desired thickness is reached. If the sugar crystals are too fine, you can let the frosting sit for 10–15 minutes while gently stirring. Another method is to refrigerate the frosting for twenty minutes and then rewhip—it naturally firms up due to the butter solidifying.
Can I use milk alternatives in whipped vanilla buttercream?
Absolutely! Dairy‑free milk like almond or oat works well when added slowly to the base. The key is to add it at a slow pace on low speed to avoid a watery result. I’ve used oat milk to give the frosting a mild vanilla‑coconut undertone, which pairs beautifully with pineapple cakes or tropical desserts.
Do I need to chill the frosting before piping?
For softer cakes or humid environments, chill the frosting for fifteen to thirty minutes; it will firm up and hold its shape better during piping. For hot days, you might thin it gently with a splash of milk, but keep it chilled before assembly so it doesn’t melt on the surface of the cake. I find that a quick chill preserves the visual smoothness of the glaze.
How can I keep whipped vanilla buttercream fresh for a week?
Proper storage is key: keep the frosting in an airtight jar or sealable container in the fridge. The cold environment slows down the butter’s tendency to separate. If you’re preparing a large batch, portion into smaller jars, label, and refrigerate. Before using again, give it a quick stir or re‑whip on low speed to return to its fluffy state.
Can I use this frosting for cupcakes?
Definitely! The airy, light texture makes it perfect for cupcakes, giving each bite a melt‑in‑your‑mouth quality. I recommend piping the frosting onto cooled cupcakes with a large round tip and finishing with a small swirl for a polished look. The frosting also works well as a filling between cake layers if you want a richer bite.
Share Your Version!
Drop me a star rating and let me know how this whipped vanilla buttercream danced on your taste buds. Your feedback fuels my next experiments in the kitchen.
If you nail it, tag me on Instagram or Pinterest and share a photo of your creation—use @exorecipes. I’m excited to see the colorful frosting art you’ll build.
What ingredient did you tweak to make this frosting truly yours? Tell me in the comments; I love the conversation that happens around each recipe.
From my NYC kitchen to yours — I hope this recipe brings as much warmth to your table as it does to mine. — mia 🧡
Love This Recipe? Save It to Pinterest!
If you enjoyed this Vanilla Buttercream recipe, don’t let it get lost in your browser tabs! 😄 Pin it now so you can find it again anytime — and explore hundreds more tried‑and‑tested recipes waiting for you on my Pinterest boards.
👉 Follow mia on Pinterest @exorecipe
📌 Pin this recipe · 🔁 Re-pin your favorites · 💬 Tag me when you make it — I love seeing your creations!
Love fresh frosting ideas? Subscribe to my email list for weekly delights straight to your inbox!
Vanilla Buttercream
The BEST Whipped Vanilla Buttercream frosting!
Ingredients
- 1 cup (2 sticks or 226g) butter, (softened)
- 2 teaspoons Vanilla Extract
- 1 teaspoon Almond Extract
- 4 cups (32 ounces) confectioners sugar, (sifted*)
- 2 tablespoons whole milk, (you can use up to 1/2 cup if you need a loose, creamy consistency)
- pinch salt
Instructions
- Beat butter in bowl of stand mixer with whisk attachment on medium-high speed until light and fluffy. (about 3 minutes)
- Add vanilla and almond extract.
- With the mixer on low, slowly add in confectioners sugar , milk, and salt; frequently scrape sides and bottom of the bowl.
- Once incorporated, whip frosting for at least 3 minutes on medium high to high. (My mixer went for 7 minutes)
- If frosting is too thick to spread, gradually beat in additional milk.
- Store in refrigerator up to 2 weeks. Rewhip before using.
Tried This Recipe? Leave a Comment!
Did you make this recipe? I’d love to hear how it turned out! Please leave a comment and a rating below. Your feedback helps other home cooks and supports cheerychop.com!
For more delicious inspiration, follow me on Pinterest!