Table of Contents
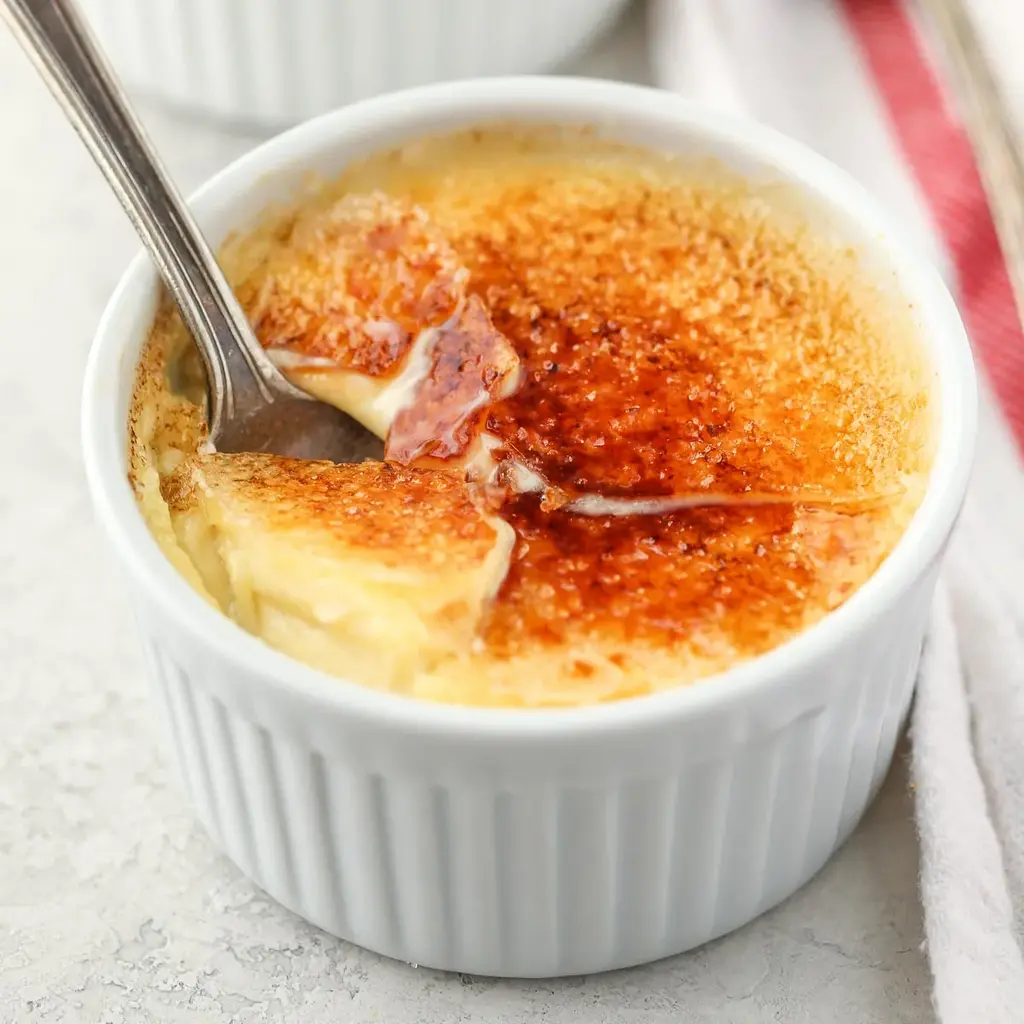
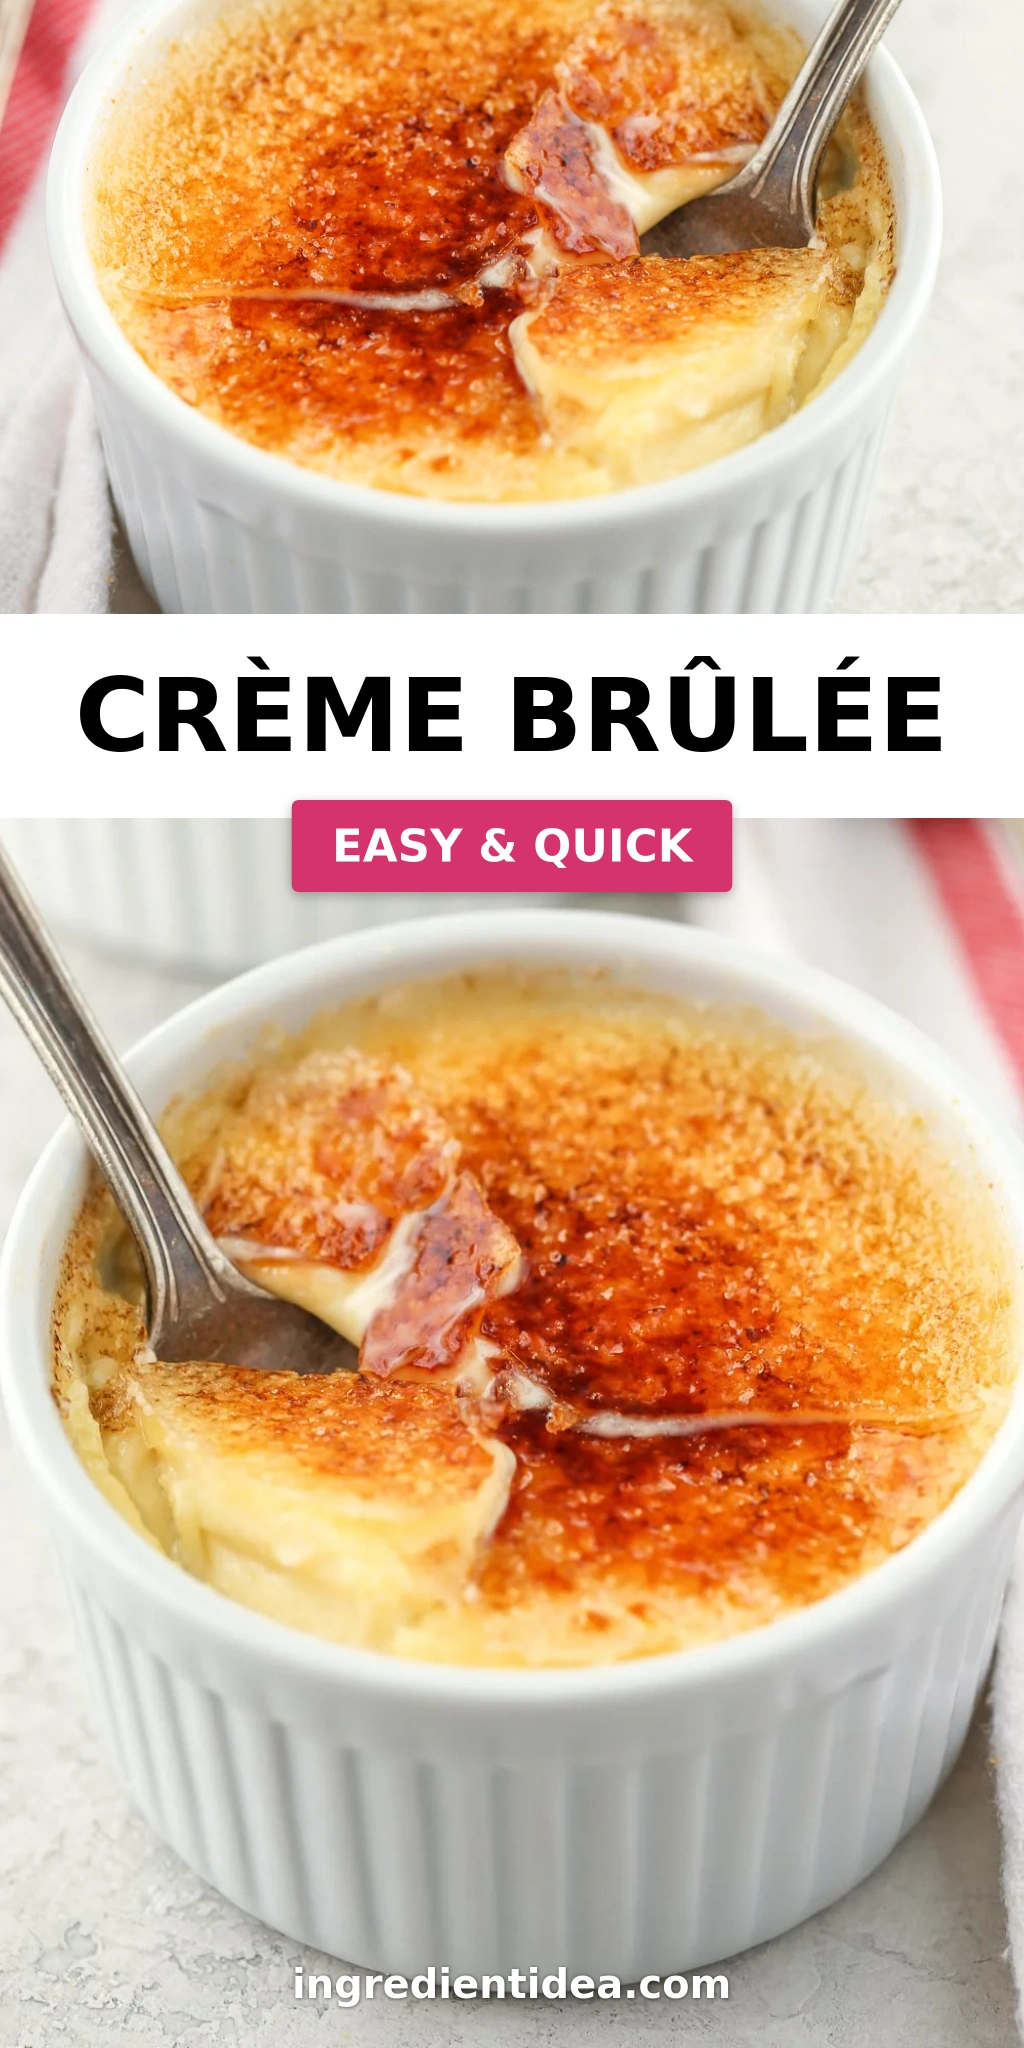
Crème Brûlée Recipe: The Richest, Simplest Vanilla Custard
Let me take you back to a crisp autumn afternoon in Paris. I was just twenty-two, fresh out of culinary school, standing in a tiny patisserie kitchen near Montmartre. The chef, a stern but brilliant woman named Madame Dubois, handed me a ramekin of crème brûlée and said, “Make this, but make it perfect.” That first crack of the caramelized sugar—that sharp, glassy shatter—was pure magic. This Easy Crème Brûlée is my homage to that moment. Made with just four simple ingredients, it delivers a rich, velvety vanilla custard base with a perfectly crisp caramelized topping. It’s the classic Crème Brûlée you’ve always wanted to make at home.
The beauty of this dessert lies in its texture: a custard so silky it nearly melts on your tongue, studded with the deep, floral notes of real vanilla. The moment you tap the caramelized sugar with your spoon, it cracks open to reveal a luscious, creamy center. The contrast between the brittle, golden crust and the cool, smooth custard is what makes this dessert iconic. It’s a sensory experience—the aroma of vanilla and caramel, the satisfying sound of that first crack, and the rich, comforting flavor that follows. It reminds me of the sweets my mother would make in Morocco, but with that distinctly French elegance I learned in Paris.
I’ve spent years perfecting this recipe in my New York City kitchen. The secret? Low, slow baking in a water bath and a simple but crucial step: letting the custard chill completely before caramelizing. That patience guarantees a perfect set every time. ❤️ I’ll walk you through every detail, from tempering the eggs to getting that flawless sugar crust without a torch. 💡 mia’s Pro Tip: The key to a smooth custard is straining the mixture through a fine-mesh sieve. And a common mistake? Over-baking. You’ll know it’s done when the center still jiggles slightly when you shake the ramekin. Let’s make this easy Crème Brûlée your new signature dessert.
Why This Crème Brûlée Recipe Is the Best
The Flavor Secret
I use pure vanilla extract—never imitation. It’s a simple choice that makes a world of difference. I buy my vanilla from a little spice shop in the East Village, run by a woman who imports it directly from Madagascar. The flavor is floral, warm, and complex. Combined with rich heavy cream, it creates a base that’s both delicate and deeply satisfying. This recipe is a true classic Crème Brûlée, honoring the French tradition I learned in Paris while being accessible to every home cook.
Perfected Texture
The key to a perfect custard is low heat and patience. We bake at 325°F, and the water bath ensures gentle, even cooking. This technique, called bain-marie in French, is what gives the custard its silky-smooth texture. I learned it in Paris, and it’s non-negotiable. The result is a custard that’s firm around the edges but luxuriously creamy in the center—exactly how it should be.
Foolproof & Fast
Don’t let the fancy name intimidate you. This easy Crème Brûlée comes together in just 15 minutes of active prep. The oven does the rest, and the chiller does the final magic. It’s a dessert that looks and tastes like you spent hours in the kitchen, but it’s actually one of the simplest recipes you’ll ever master. Perfect for a dinner party or a quiet weeknight treat.
Classic Crème Brûlée Ingredients
When I make this classic Crème Brûlée, I head to the Union Square Greenmarket for the freshest eggs and cream. There’s a dairy farm there that sells the most glorious heavy cream—it’s thick, golden, and tastes like butter. For the vanilla, I go to a little shop in Chinatown. It reminds me of the spice markets in Marrakech, where everything is aromatic and alive. Each ingredient plays a vital role, so choose them with care.
Ingredients List
- 6 large egg yolks
- 1/3 cup (70 grams) granulated sugar
- 2 cups (480 ml) heavy whipping cream
- 1 and 1/2 teaspoons pure vanilla extract
- 2 tablespoons (25 grams) granulated sugar (for the topping)
Ingredient Spotlight
Egg Yolks: These are the backbone of the custard, providing richness and structure. Use large, room-temperature eggs for the best emulsification. Look for yolks that are deep orange—a sign of healthy, pasture-raised chickens. A good substitute? Use 5 extra-large yolks if that’s what you have.
Heavy Whipping Cream: This is what makes the custard luxuriously thick and creamy. Don’t substitute with half-and-half or milk—you’ll end up with a watery dessert. For a dairy-free version, full-fat coconut cream works surprisingly well, though the texture will be slightly less rich.
Pure Vanilla Extract: Real vanilla is non-negotiable. It adds a floral, aromatic depth that imitation simply can’t match. If you have a vanilla bean, scrape the seeds into the cream for an even more intense flavor. I love using a Madagascar vanilla for its sweet, creamy profile.
| Original Ingredient | Best Substitution | Flavor / Texture Impact |
|---|---|---|
| Heavy Whipping Cream | Full-fat coconut cream | Lighter, slightly coconut flavor, still creamy |
| Granulated Sugar | Coconut sugar | Slightly deeper, caramel-like sweetness |
| Pure Vanilla Extract | 1 vanilla bean (scraped) | More intense, floral vanilla flavor |
| Egg Yolks | 5 extra-large egg yolks | Slightly richer, creamier custard |
How to Make Crème Brûlée — Step-by-Step
Let me walk you through each step. I promise, if you follow these instructions, you’ll have a perfect crème brûlée every single time. It’s all about gentle heat and patience.
Step 1: Preheat and Prepare
Preheat the oven to 325°F (163°C). Place a large pot of water on the stove to boil. This water will be used for the bain-marie, which ensures even, gentle baking. Position a rack in the center of the oven.
💡 mia’s Pro Tip: I always boil more water than I think I’ll need. It’s better to have extra than to run out mid-way through adding the water to the pan.
Step 2: Whisk the Egg Yolks and Sugar
In a large mixing bowl, whisk together the 6 large egg yolks and 1/3 cup (70 grams) granulated sugar until well blended and the mixture just starts to lighten in color. This should take about 1-2 minutes. You’re not looking for stiff peaks, just a smooth, pale yellow mixture.
⚠️ Common Mistake to Avoid: Don’t over-whisk the egg yolks. Over-whisking can incorporate too much air, leading to a foamy, less creamy custard. Whisk just until combined and slightly pale.
Step 3: Heat the Cream
Pour the 2 cups (480 ml) heavy whipping cream into a medium-sized saucepan and heat over medium heat. Stir occasionally until the cream is warm and bubbling around the edges. This takes about 4-5 minutes. Remove the cream from the heat and stir in the 1 and 1/2 teaspoons pure vanilla extract.
💡 mia’s Pro Tip: Watch the cream carefully. You want it hot but not boiling. If it boils, it could scorch, which adds a bitter flavor. Tiny bubbles around the edge is your cue to pull it off the heat.
Step 4: Temper the Eggs
Slowly pour about 1/2 cup of the warm heavy whipping cream into the egg and sugar mixture, whisking well as you pour. This process, called tempering, gently raises the temperature of the eggs so they don’t scramble. Then, slowly pour in the remaining cream and continue whisking until fully combined. If there’s a thin layer of foam on top of the mixture, skim it off with a spoon.
⚠️ Common Mistake to Avoid: Pouring the hot cream too quickly into the eggs is the number one reason for a lumpy custard. Go slow and steady—a thin stream while whisking constantly. This is the most important step for a silky texture.
Step 5: Strain and Fill
Strain the mixture through a fine-mesh strainer into a clean bowl or a large measuring cup with a spout. This catches any bits of cooked egg or foam, ensuring a perfectly smooth custard. Evenly distribute the mixture between four 6-ounce ramekins. Tap each ramekin gently on the counter to release any air bubbles.
💡 mia’s Pro Tip: Straining is non-negotiable in my kitchen. It’s a small step that guarantees a restaurant-quality, silky finish. Don’t skip it!
Step 6: Create the Water Bath
Pour the boiling water into an 8-inch square baking pan (or a larger pan) until it’s about 1/3 of the way full. Carefully place the filled ramekins in the baking dish. The water should come about halfway up the sides of the ramekins. If needed, add a little more boiling water to the pan.
⚠️ Common Mistake to Avoid: Adding the ramekins to a dry pan and then pouring boiling water around them can cause them to tip. It’s safer to pour the water first, then gently place the ramekins in. I use tongs for this.
Step 7: Bake
Carefully place the baking pan with the ramekins in the preheated oven. Bake at 325°F (163°C) for 35 to 45 minutes, or until the edges are set and the center is slightly jiggly—like Jell-O. Remove from the oven and carefully lift the ramekins out of the water bath using tongs or a spatula. Transfer them to a wire rack to cool completely. Once cooled, cover tightly with plastic wrap and refrigerate for at least 4 hours, or overnight.
💡 mia’s Pro Tip: The jiggle test is your best friend. When you gently shake the ramekin, the center should wobble as a single unit, not slosh like liquid. Over-baking is the path to a grainy, eggy custard.
Step 8: Caramelize and Serve
Just before serving, blot the tops of each custard with a paper towel to remove any excess moisture. Sprinkle about 1 and 1/2 teaspoons of the remaining granulated sugar (2 tablespoons total) evenly over the top of each custard. Shake the ramekin gently to create an even layer. Use a small kitchen torch to carefully caramelize the sugar, moving the flame in a circular motion until it melts and turns a deep amber color. Allow the sugar to harden for 1 to 2 minutes, then serve immediately.
⚠️ Common Mistake to Avoid: Don’t hold the torch too close or in one spot, or the sugar will burn. Keep it moving until you get a golden, even caramel. If you don’t have a torch, place the ramekins under a hot broiler for 1-2 minutes, watching closely.
| Step | Action | Duration | Key Visual Cue |
|---|---|---|---|
| 1 | Preheat & boil water | 10 mins | Oven at 325°F, water boiling |
| 2 | Whisk yolks & sugar | 2 mins | Pale yellow, slightly thick |
| 3 | Heat cream & vanilla | 4-5 mins | Bubbling around edges, not boiling |
| 4 | Temper eggs | 2-3 mins | Smooth, no lumps |
| 5 | Strain & fill ramekins | 5 mins | Smooth custard, no foam |
| 6 | Create water bath | 2 mins | Water halfway up ramekins |
| 7 | Bake | 35-45 mins | Edges set, center jiggly |
| 8 | Chill & caramelize | 4+ hrs chill + 2 mins torch | Firm custard, amber sugar |
Serving & Presentation
Serving this classic crème brûlée is a moment of pure theater. I like to present each ramekin on a small, elegant plate. The contrast between the warm, caramelized sugar and the cold custard beneath is what makes each bite unforgettable. I always caramelize the sugar just before serving—that crisp, glassy crust is the star. In my NYC apartment, I sometimes serve it with a small pile of fresh raspberries on the side. Their tartness cuts through the richness beautifully, a trick I learned from a French pastry chef in the Village.
For a touch of my Moroccan heritage, I sometimes dust the plate with a little ground cinnamon or arrange a few rose petals for color. But really, this dessert is stunning on its own. The simplicity is its elegance. I like to say that a perfect crème brûlée is a conversation starter. Everyone wants to be the one to crack that caramelized surface.
Crème Brûlée

This Easy Crème Brûlée is made with just four ingredients and features a rich custard base with a crisp caramelized topping.
Ingredients
- 6 large egg yolks
- 1/3 cup (70 grams) granulated sugar
- 2 cups (480 ml) heavy whipping cream
- 1 and 1/2 teaspoons pure vanilla extract
- 2 tablespoons (25 grams) granulated sugar ((for the topping))
Instructions
- Preheat the oven to 325°F (163°C). Place a large pot of water on the stove to boil.
- In a large mixing bowl, whisk together the egg yolks and sugar until well blended and it just starts to lighten in color. Set aside.
- Pour the heavy whipping cream in a medium-sized saucepan and heat over medium heat. Stir occasionally until the cream is warm and bubbling around the edges. Remove the cream from the heat and stir in the vanilla extract.
- Slowly pour about 1/2 cup of the warm heavy whipping cream into the egg and sugar mixture making sure to whisk well as you're pouring it in. Then, slowly pour in the remaining cream and continue whisking until fully combined. If there's a thin layer of foam on top of the mixture, you can skim this off with a spoon at this point.
- Strain the mixture through a fine mesh strainer, then evenly distribute between four 6-ounce ramekins.
- Pour the boiling water into an 8-inch square baking pan (or larger pan if you prefer) about 1/3 of the way full. Carefully place the ramekins in the baking dish. The water should come about halfway up the sides of the ramekins. If needed, add a little more boiling water to the pan.
- Carefully place the baking pan in the oven. Bake at 325°F (163°C) for 35 to 45 minutes or until the edges are set and the center is slightly jiggly. Remove from the oven and carefully remove the ramekins from the pan using tongs or pot holders and transfer to a wire rack to cool completely. Once cooled, cover tightly and refrigerate for at least 4 hours or overnight.
- Once chilled, blot the tops of each custard with a paper towel to remove any excess moisture. Sprinkle 1 and 1/2 teaspoons of sugar on top of each custard, shake it around into one even layer, then use a small kitchen torch to carefully caramelize the sugar. Allow the sugar to harden for 1 to 2 minutes, then serve and enjoy, or refrigerate for a few hours until ready to serve.
Tried This Recipe? Leave a Comment!
Did you make this recipe? I’d love to hear how it turned out! Please leave a comment and a rating below. Your feedback helps other home cooks and supports cheerychop.com!
For more delicious inspiration, follow me on Pinterest!