Table of Contents
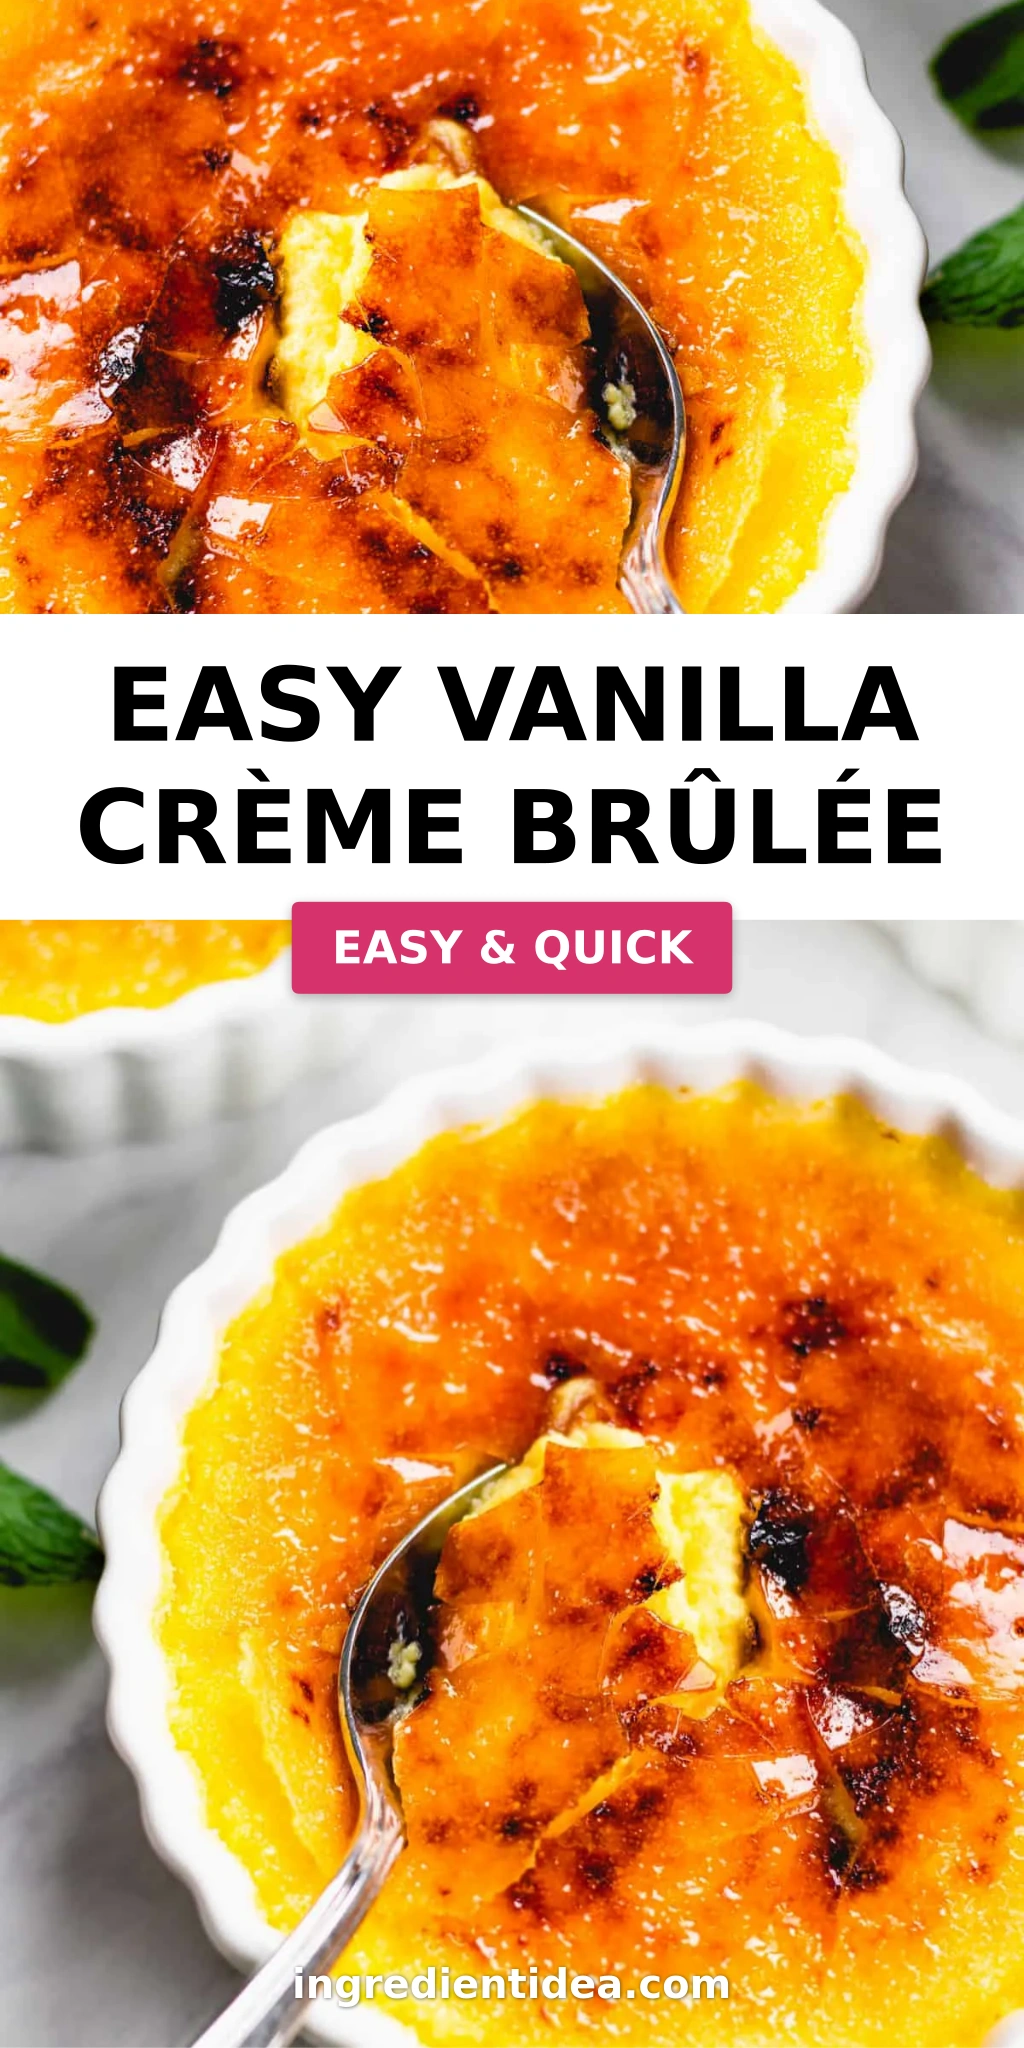
Easy Vanilla Crème Brûlée Recipe – A Beginner’s Guide to Perfectly Creamy Custard
Growing up in Morocco, my mother’s kitchen was filled with the scent of warm milk steeped with cinnamon and orange blossom. It wasn’t until my years at culinary school in Paris that I discovered how those simple aromas could be elevated into something as elegant as crème brûlée. This easy vanilla crème brûlée recipe brings together the comforting creaminess I grew up with and the precision I learned in France, making it perfect for beginners and seasoned cooks alike. With just 4 main ingredients and no torch needed, you can create a showstopping dessert that feels like a special occasion every time.
Imagine cracking through a thin, caramelized sugar shell to reveal a silky, vanilla-scented custard beneath. The contrast is pure magic: the shatter of the top gives way to a luscious, almost pudding-like texture that melts on your tongue. A hint of vanilla — I use a good-quality extract from a small batch maker I found at the Union Square Greenmarket — infuses the cream with warmth. It’s a dessert that looks like a masterpiece from a French patisserie, yet it’s deceptively simple to make at home.
What sets this easy crème brûlée apart? It’s the technique — the careful tempering of eggs and the gentle water bath that guarantees a creamy, never-scrambled custard. I’ll share my pro tip for checking doneness without a thermometer, and warn you about the most common mistake: overbaking. Whether you’re making it for a date night, a holiday gathering, or just because you deserve something beautiful, this recipe is your ticket to a perfect vanilla custard dessert. Let’s get started.
Why This Easy Vanilla Crème Brûlée Recipe Is the Best
The Flavor Secret: My years in Paris taught me that simplicity is the ultimate luxury. Here, I use real vanilla extract (not imitation) and let it steep in warm cream for five minutes. That short rest unlocks a depth you just don’t get from a quick stir. It’s a trick I learned from a pâtissier on Rue du Bac — barely a minute more, but worlds of difference.
Perfected Texture: The key to a silky custard is a gentle water bath, or bain-marie. By baking the ramekins surrounded by hot water, the custard cooks evenly from the edges inward. This prevents the dreaded curdling that happens when the heat is too direct. My French training stressed that the water should be boiled before pouring — it speeds up the cooking and keeps the texture steady.
Foolproof & Fast: This recipe is designed for real life. No double boiler, no special equipment — just a saucepan, a whisk, and a baking dish. My no-torch broiler method means you get that perfect caramelized top without buying a kitchen gadget. It’s the kind of simple crème brûlée that makes you look like a hero with minimal stress.
Easy Vanilla Crème Brûlée Recipe Ingredients
I love sourcing ingredients for this easy vanilla crème brûlée at my local grocery store. In NYC, I head to the Chelsea Market for fresh farm eggs and a thick, never-ultra-pasteurized heavy cream that whips up beautifully. But even standard supermarket finds will work — the magic is in how you treat them. Here’s what you need for this classic vanilla crème brûlée.
Ingredients List
- 2 cups heavy cream
- 1 teaspoon vanilla extract (preferably pure, not imitation)
- 6 egg yolks (from large eggs)
- 1/3 cup granulated sugar (for the custard)
- 4 tablespoons granulated sugar (for the caramel topping)
- 1 kettle of hot water (for the water bath)
Ingredient Spotlight
Heavy Cream: The backbone of the custard. I prefer a heavy cream with at least 36% fat for a rich, thick texture. If you only have half-and-half, the custard will be thinner and less indulgent. Never use ultra-pasteurized cream if you can avoid it — it sometimes has a slightly cooked flavor. Tested substitute: 1 can (13.5 oz) full-fat coconut milk for a dairy-free version, but expect a subtle coconut taste.
Egg Yolks: They’re the emulsifier that transforms the cream into a velvety custard. Use the freshest eggs you can find — the yolks should be bright orange and stand up tall. Avoid egg whites entirely for this recipe (they make the custard tough). In a pinch, you can use 4 whole eggs plus 2 extra yolks, but the texture won’t be as silky.
Vanilla Extract: Pure vanilla extract gives a clean, floral note. I like to use a Madagascar vanilla extract for its rich, creamy flavor. Avoid imitation vanilla because it can taste artificial and flat. Tested substitute: 1 vanilla bean, split and scraped, steeped in the warm cream for 10 minutes — this gives specks and an even deeper flavor.
Granulated Sugar: Regular white sugar caramelizes beautifully on top. For the custard itself, it dissolves easily into the yolks. Don’t substitute with brown sugar — it will make the custard dark and the caramel topping burn easily.
| Original Ingredient | Best Substitution | Flavor / Texture Impact |
|---|---|---|
| Heavy Cream | Coconut cream (full-fat) | Slightly thinner, subtle coconut flavor; good dairy-free option. |
| Egg Yolks | 4 whole eggs + 2 yolks | Custard is less silky, more firm; slightly less rich. |
| Vanilla Extract | 1 vanilla bean, split & scraped | More intense vanilla flavor with beautiful specks. |
| Granulated Sugar | Superfine sugar (for topping) | Melts more evenly under the broiler; same crunch. |
How to Make Easy Vanilla Crème Brûlée — Step-by-Step
Follow these steps carefully, and you’ll have a dessert that rivals any restaurant version. I’ve included my best pro tips and warnings so you can avoid every pitfall. Let’s make this classic vanilla crème brûlée together.
Step 1: Preheat and Prep Water Bath
Preheat your oven to 325°F. Bring a kettle or pot of water to a boil — you’ll need it shortly for the water bath. This step might seem small, but using boiling water (not just hot tap water) ensures the custard starts cooking immediately and evenly, preventing that dreaded curdle.
💡 mia’s Pro Tip: Set your ramekins in the baking dish BEFORE pouring the water. Trust me, nothing’s worse than trying to lift a dish full of hot water and ramekins. Safety first, deliciousness second!
Step 2: Warm the Cream with Vanilla
In a saucepan over medium heat, combine 2 cups heavy cream and 1 teaspoon vanilla extract. Heat just until it starts to simmer — look for small bubbles around the edges. Do NOT let it boil. Boiling will denature the milk proteins and can create a skin on the custard. Remove from heat and let it infuse for 5 minutes.
⚠️ Common Mistake to Avoid: Boiling the cream! It can scorch the milk solids and give your custard a slightly cooked flavor. Heat gently and watch closely.
Step 3: Whisk Eggs and Sugar
In a medium bowl, whisk together 6 egg yolks and 1/3 cup granulated sugar. Whisk until the mixture thickens and turns pale yellow — about 3-5 minutes with a hand whisk or electric mixer on low. The sugar should be fully dissolved; this is key to a smooth custard. You’re done when the mixture falls off the whisk in a ribbon and holds its shape for a second.
💡 mia’s Pro Tip: If you’re in a rush, rub a little of the mixture between your fingers. If it feels gritty, keep whisking. Gritty means you risk a grainy custard — nobody wants that!
Step 4: Temper the Eggs
Gradually pour the warm cream into the egg mixture in a slow, steady stream while whisking constantly. This is called tempering — it gently raises the temperature of the eggs so they don’t curdle. If you dump the hot cream in all at once, you’ll get scrambled eggs. Strain the custard through a fine-mesh sieve into a clean bowl to remove any lumps.
⚠️ Common Mistake to Avoid: Pouring the cream too fast. Go slow — count to 30 as you pour. Whisking constantly keeps the mixture smooth.
Step 5: Fill Ramekins and Bake
Divide the custard evenly among 4 shallow ramekins (6-8 oz each). Place the ramekins in the baking dish. Carefully pour the boiling water into the dish until it reaches about ¾ up the sides of the ramekins — this is the water bath. Bake at 325°F for 30-35 minutes. You want the edges to be set but the center should still jiggle like Jell-O. Overbaking is the #1 mistake.
💡 mia’s Pro Tip: To check doneness, gently shake a ramekin. The center should wobble like a soft gel — not slosh like liquid. The custard will continue to set as it cools.
Step 6: Cool and Chill
Remove the ramekins from the water bath and let them cool to room temperature on a wire rack. Once cool, cover each with plastic wrap and refrigerate for at least 4 hours — overnight is even better. This allows the custard to fully set and develop a silky texture. Don’t skip this step!
⚠️ Common Mistake to Avoid: Rushing the chilling. If the custard isn’t fully chilled, it will be too soft to hold the caramelized sugar top and will collapse.
Step 7: Caramelize the Sugar Topping
Just before serving, sprinkle 1 tablespoon of granulated sugar evenly over each chilled custard. Use a kitchen torch to melt and caramelize the sugar until it’s golden and bubbly. If you don’t have a torch, place the ramekins under your oven’s broiler on high for 1-2 minutes. Watch closely — it can burn in seconds. Let the sugar sit for 1 minute to harden into a crispy shell.
💡 mia’s Pro Tip: No torch? The broiler works, but tilt the ramekins halfway through to ensure even caramelization. And always use shallow ramekins — they caramelize faster.
Step 8: Serve Immediately
Serve the crème brûlée right away for that satisfying crack when you tap the caramel shell. If you wait too long, the sugar will soften from the cold custard. Top with fresh berries if you like for a pop of color and acidity.
⚠️ Common Mistake to Avoid: Waiting too long to serve! The caramelized sugar will turn from brittle to sticky after about 30 minutes. Serve within 15 minutes for the best shatter.
| Step | Action | Duration | Key Visual Cue |
|---|---|---|---|
| 1 | Preheat oven & boil water | 10 min | Kettle whistling |
| 2 | Warm cream with vanilla | 3-5 min | Small bubbles at edges |
| 3 | Whisk eggs & sugar | 3-5 min | Pale yellow, ribbon stage |
| 4 | Temper eggs | 2 min | Smooth, no curds |
| 5 | Bake in water bath | 30-35 min | Edges set, center jiggles |
| 6 | Cool & chill | 4+ hours | Firm, cold custard |
| 7 | Caramelize sugar | 1-2 min | Golden, bubbly |
| 8 | Serve | Immediate | Crack on tap |
Serving & Presentation
The beauty of this easy vanilla crème brûlée is that it’s already a showstopper. I like to serve each ramekin on a small plate with a demitasse spoon. For a touch of color, a few fresh raspberries or a sprig of mint on the side adds a pop of brightness. In my NYC dinner parties, I sometimes set up a small “crème brûlée bar” with extra toppings like chopped pistachios, candied orange zest, or a drizzle of raspberry coulis.
Pair this dessert with a crisp, off-dry sparkling wine like a Crémant de Loire or a late-harvest Riesling. For a non-alcoholic option, a strong, slightly sweet Moroccan mint tea (like the one my mother made) is a beautiful contrast to the rich custard. In the summer, I serve it with a side of fresh berries and a dollop of whipped cream — it’s a little more casual but just as delicious.
If you’re feeling fancy, drizzle a bit of caramel sauce or a pinch of sea salt over the caramelized top just before serving. The salt enhances the vanilla and cuts through the sweetness. From my Parisian pastry days, I sometimes add a tiny dot of vanilla bean paste to the center of each ramekin before baking — it gives the custard those classic black specks that say “I used the real stuff.”